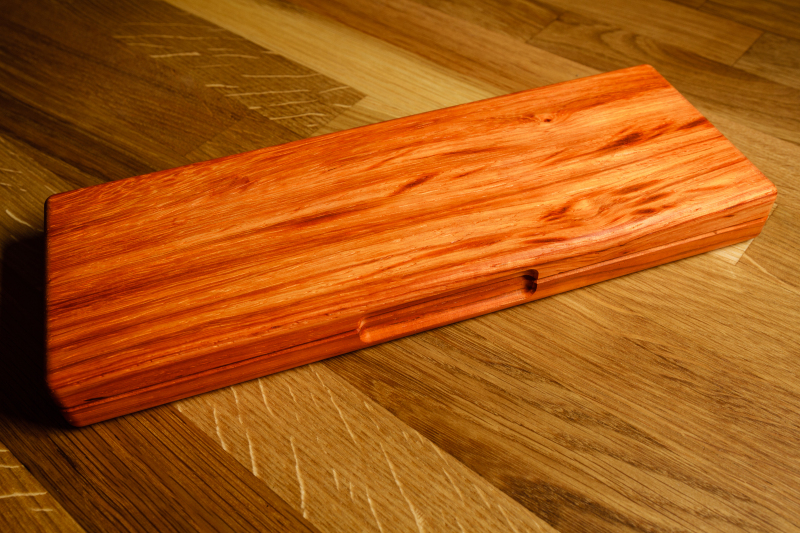
Design files for this project can be found here
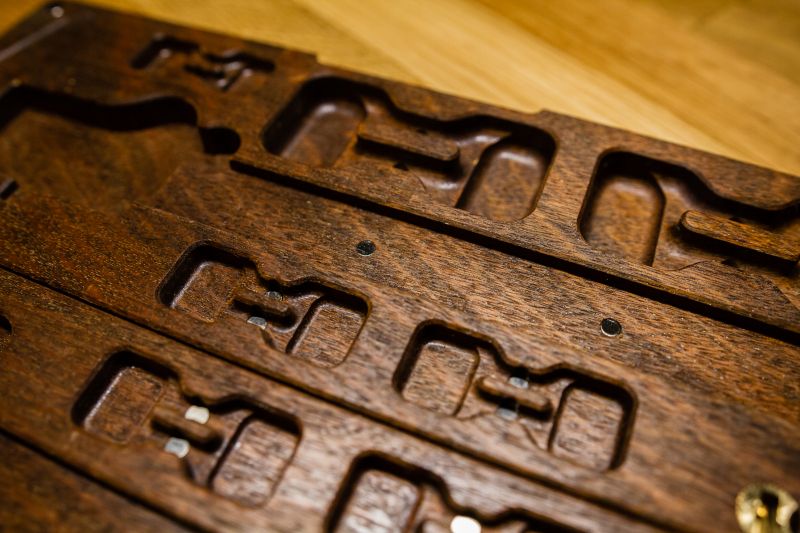
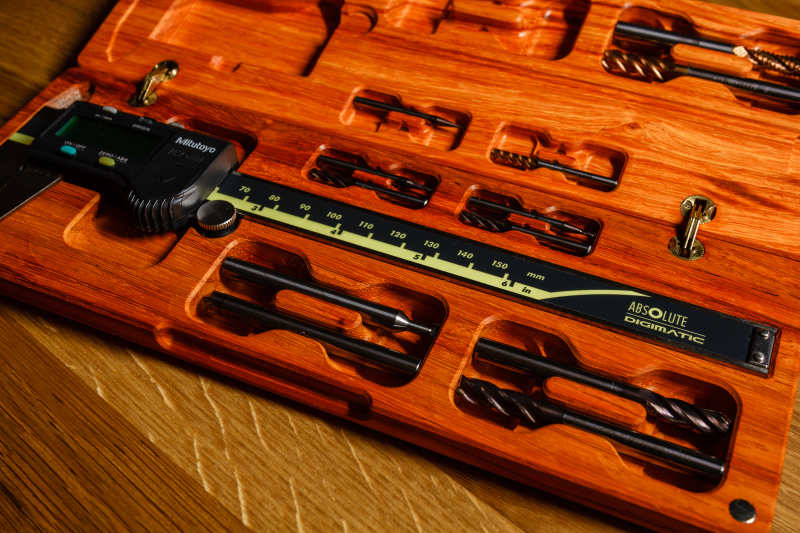
1/3/2016 – Updated design to utilize magnets for holding end mills
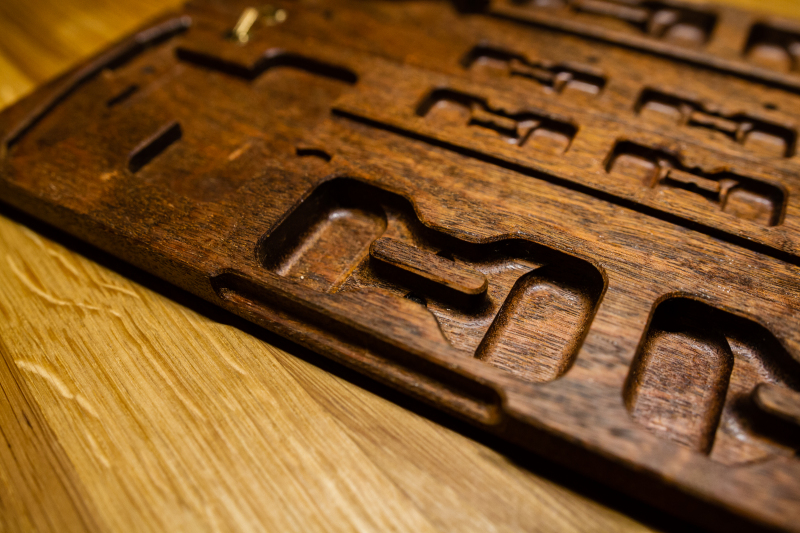
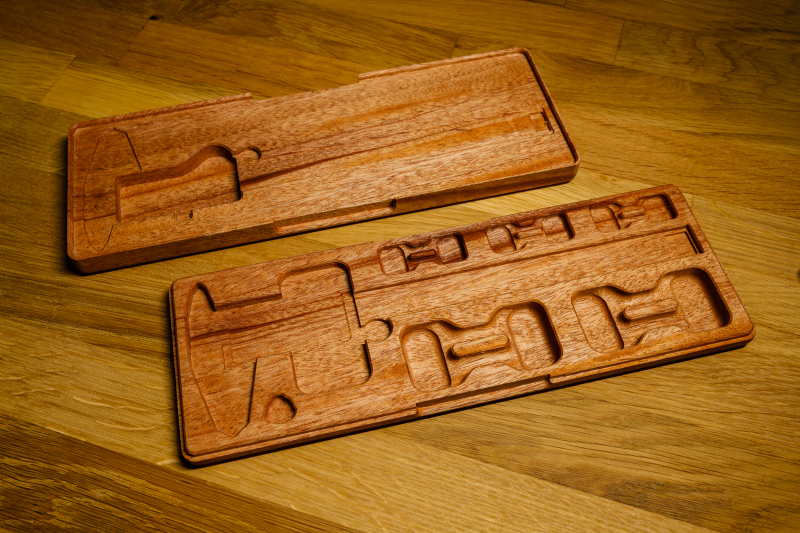
12/24/2016 – Updated design, remade using IPE, and added milling progress pictures
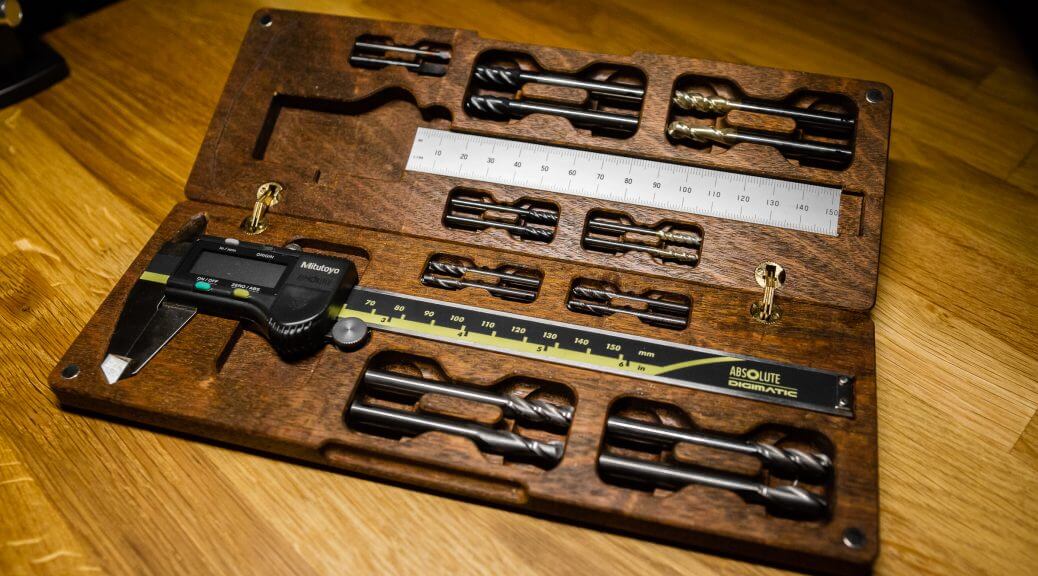
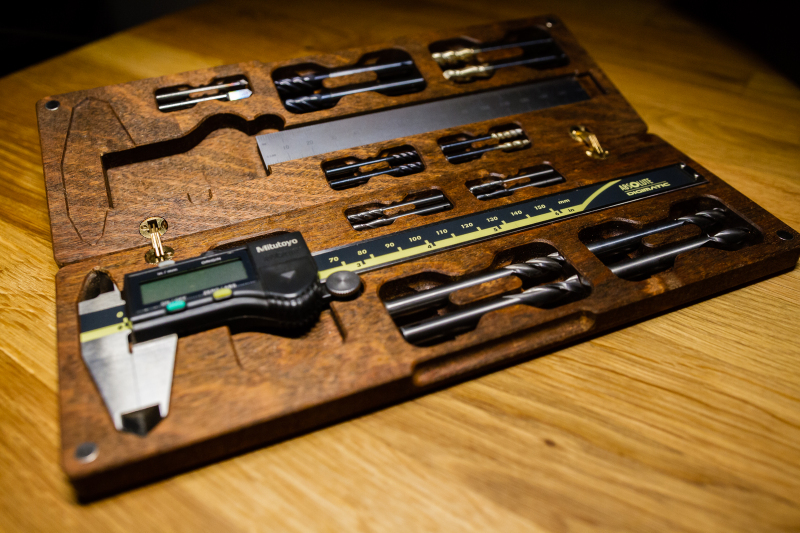
Now that I’ve mostly settled into the life of a working adult, I finally have the time to explore some other stuff that I’ve been meaning to try out. Ever since I’ve moved away from the field of 3D printing, I’ve wanted to try my hand at realizing my ideas and designs using a CNC mill. Luckily for me, the hackerspace here at Microsoft has just the machine: a Roland MDX-540. And what is a better starter project than a case for my trusty Mitutoyo caliper?
Autodesk Fusion 360 was the software of choice as it’s free for hobbyists and contains both modeling software similar to Autodesk Inventor as well as CAM functionality for generating toolpaths for the CNC mill. If it wasn’t for the fact that it’s free, I probably wouldn’t recommend it as it is far too unstable once you start working with a fairly complex design. If it’s not crashing, it’s randomly losing previously generated toolpaths on startup or deciding that it wants to omit an edge from a selected contour. Perhaps in a few years it’ll be stable enough for use..
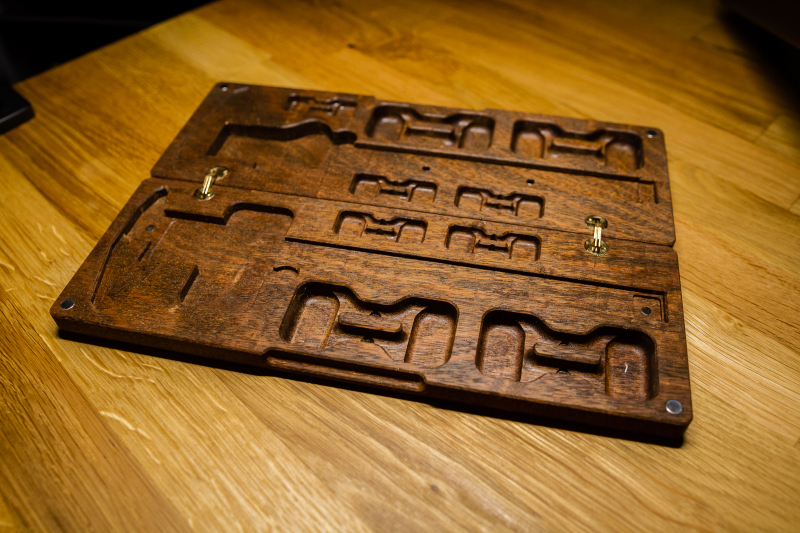
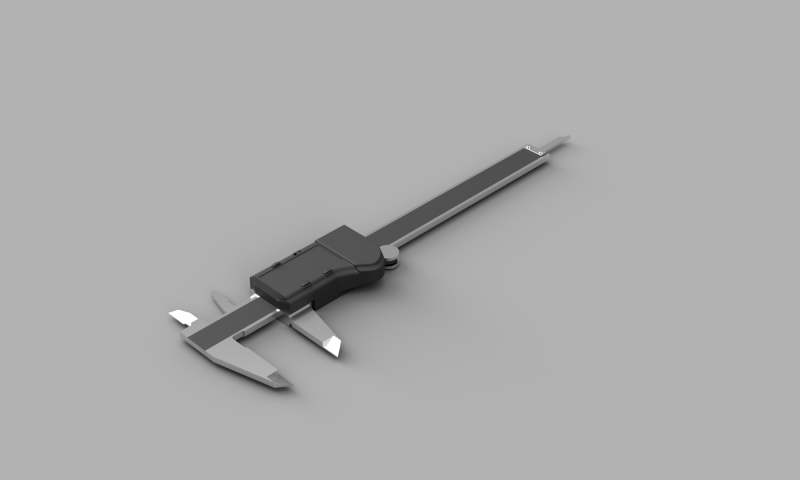
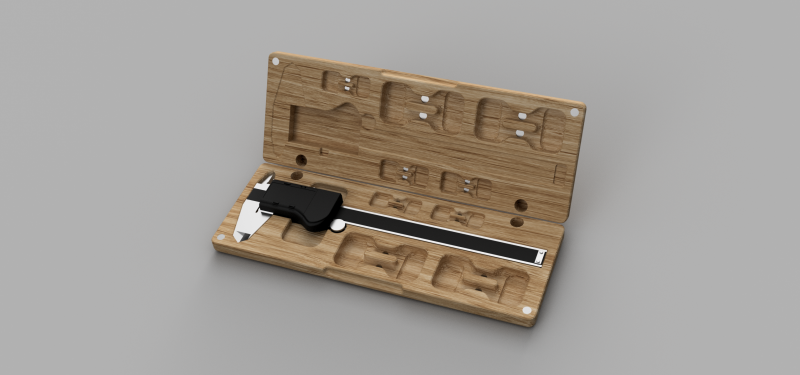
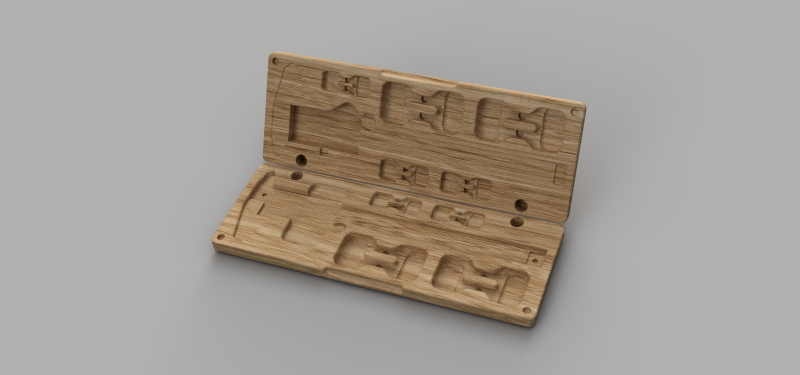
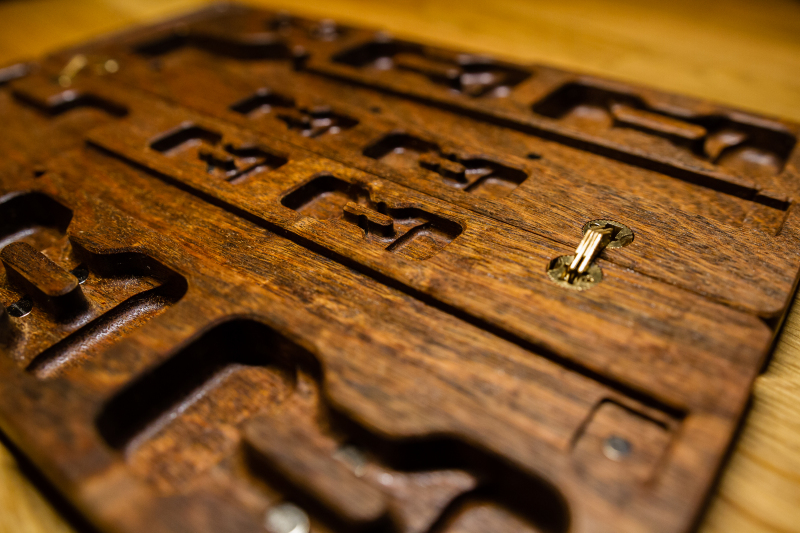
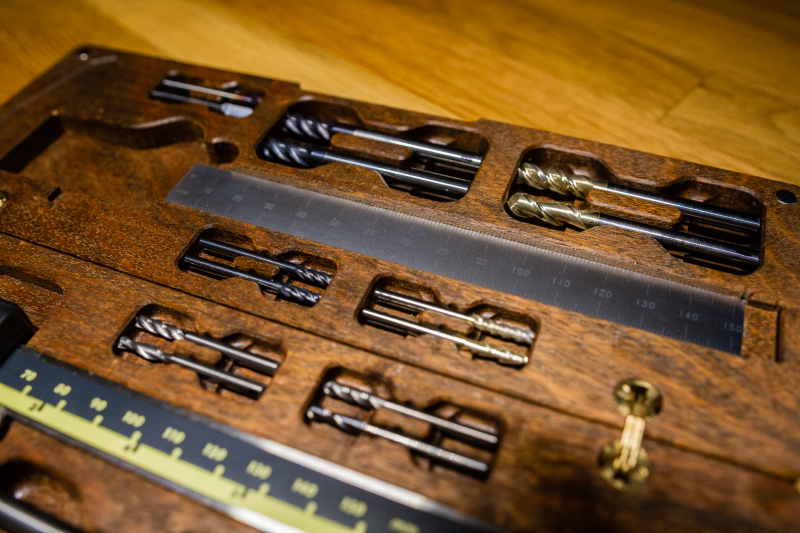
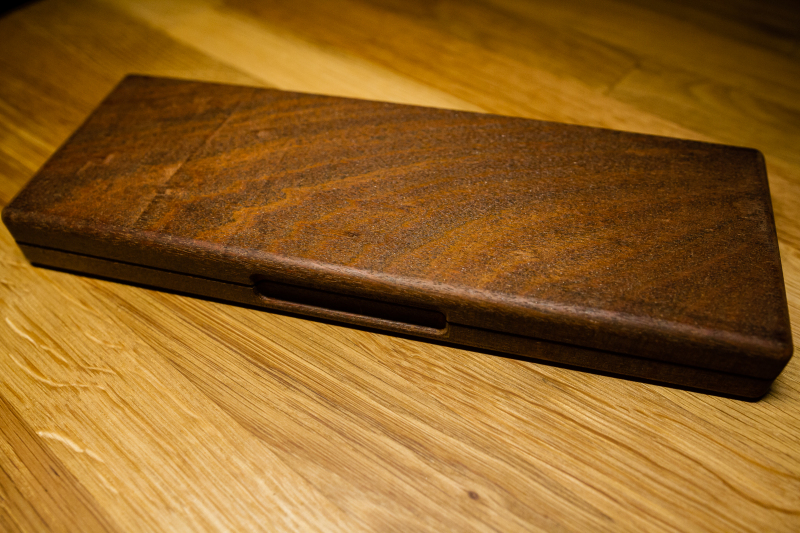
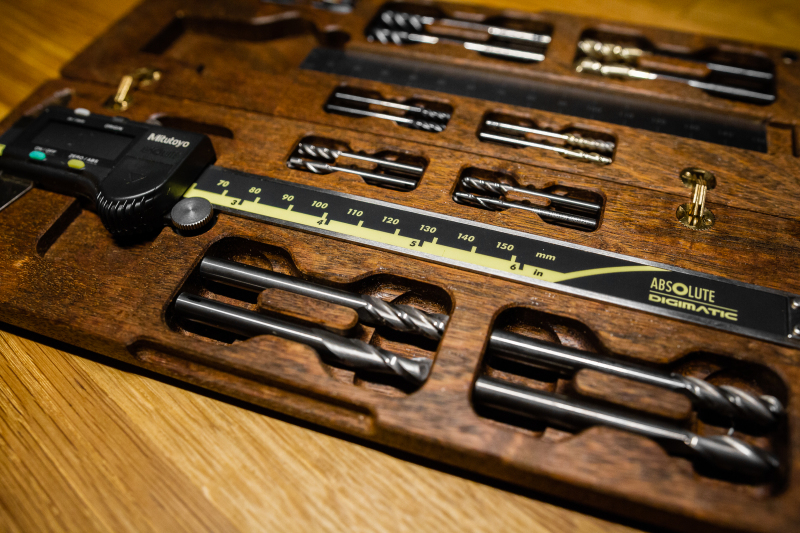
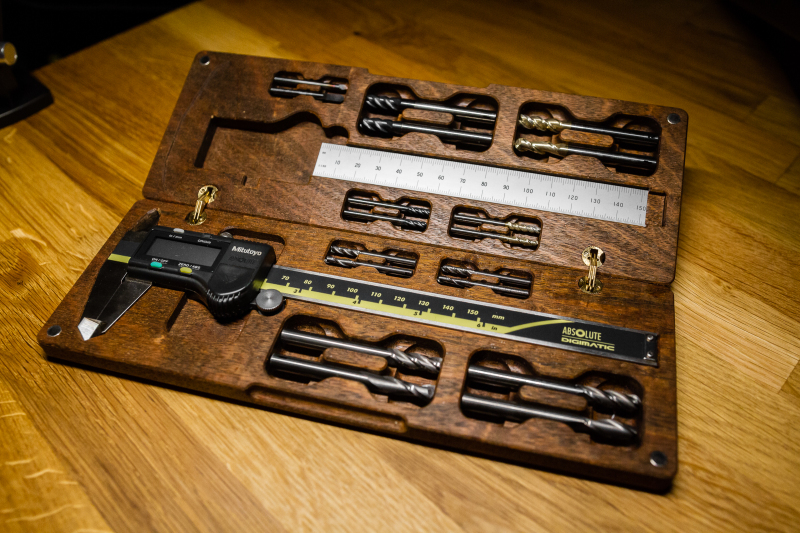
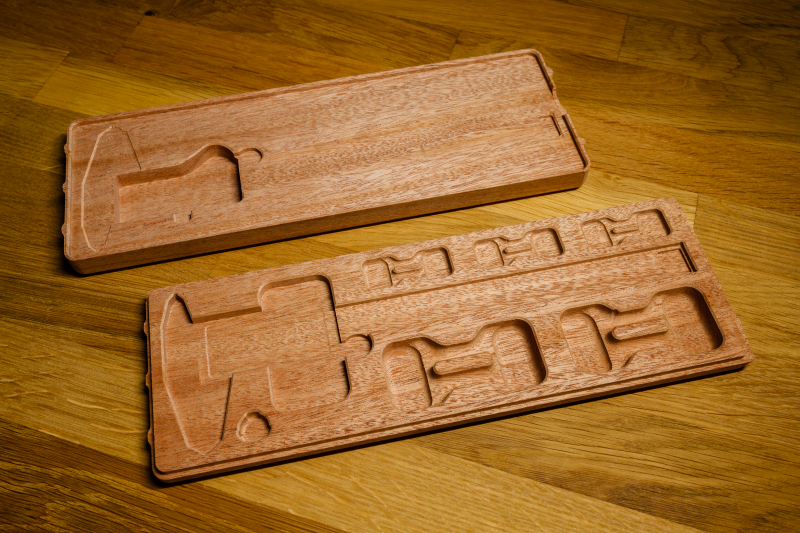
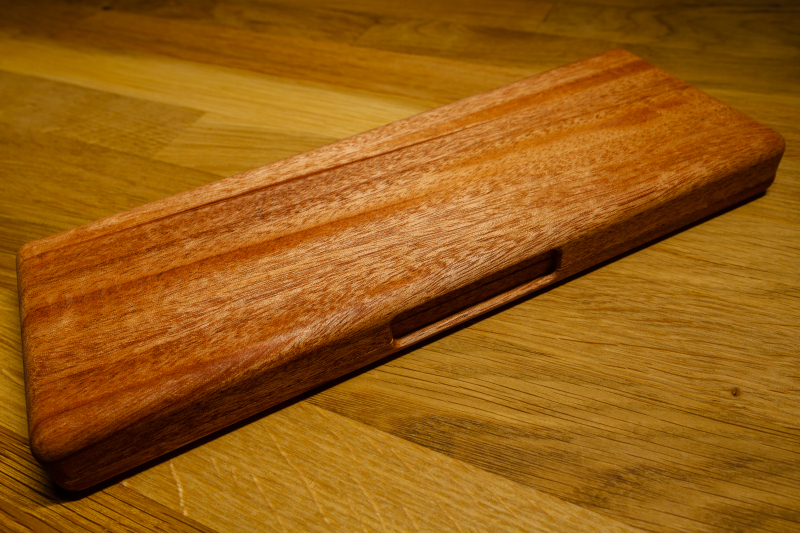
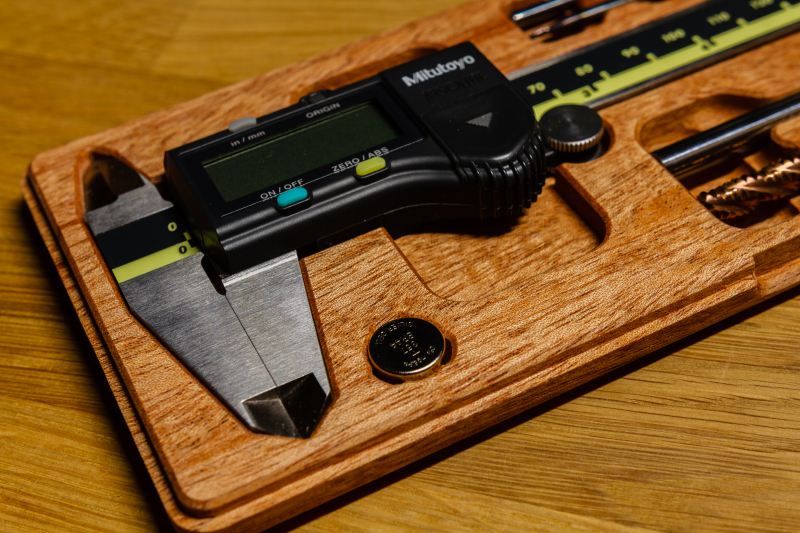
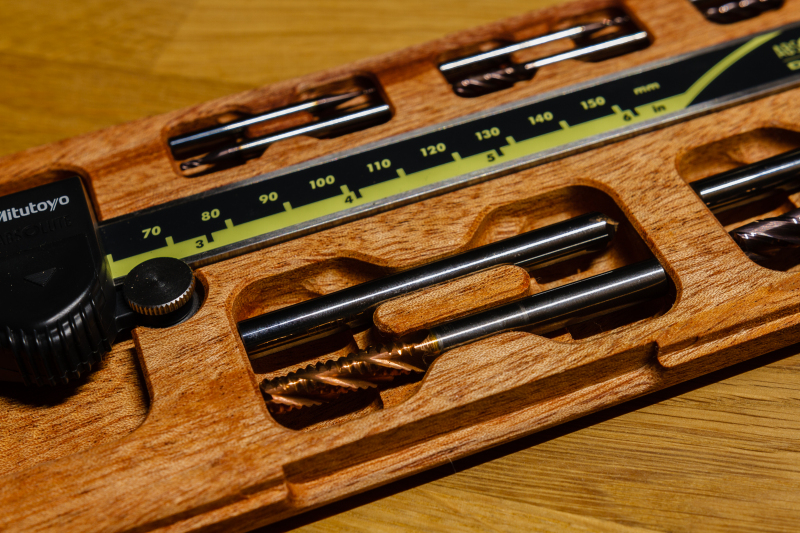
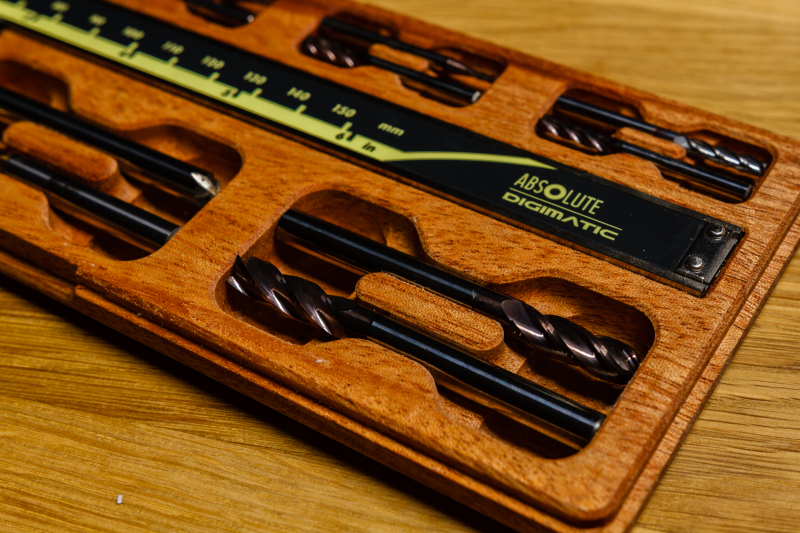
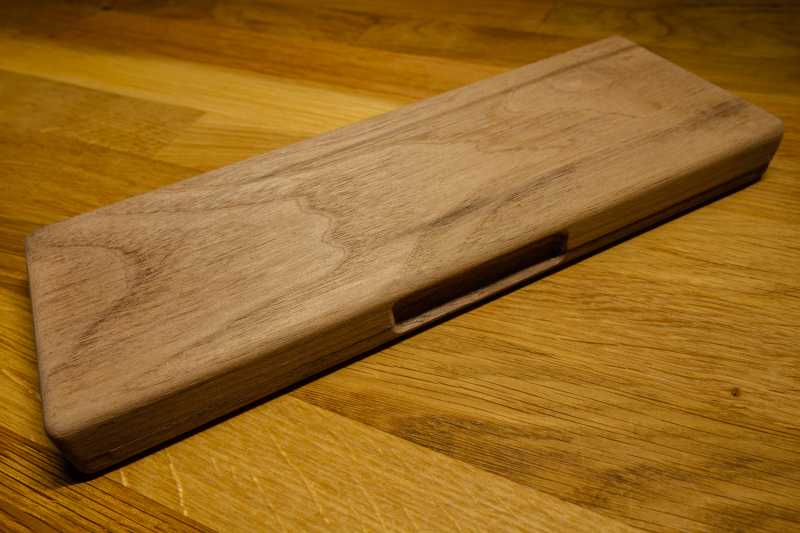
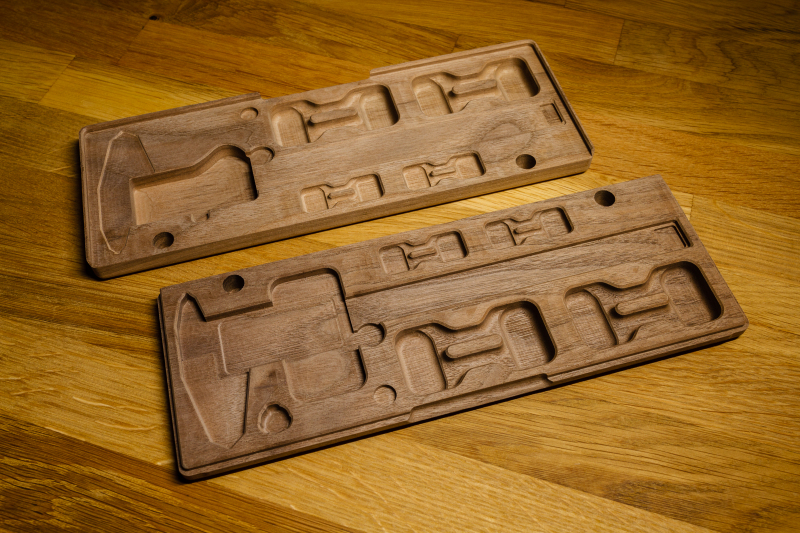
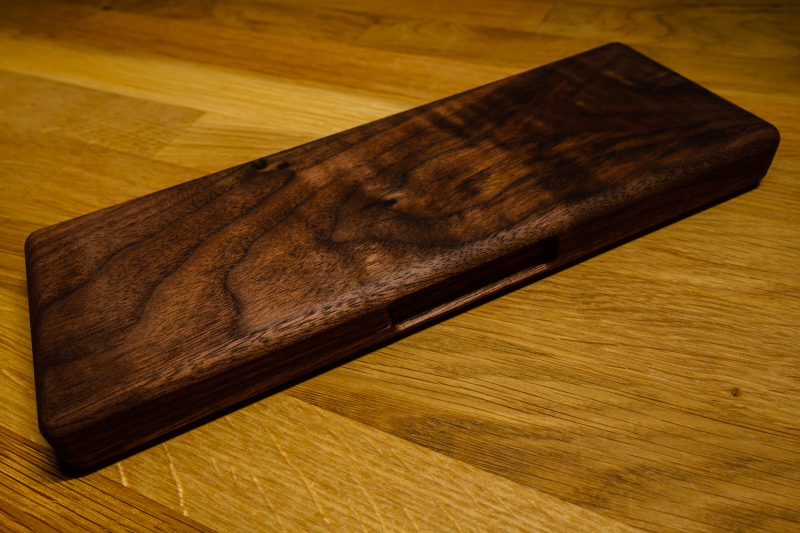
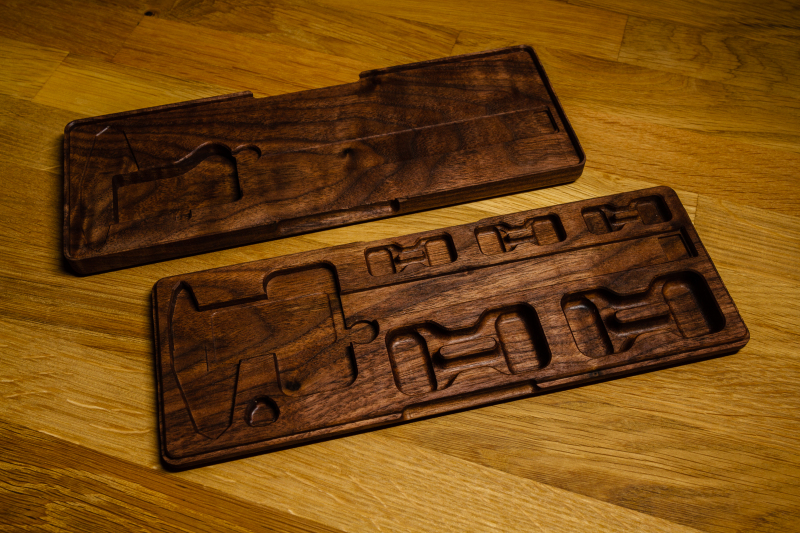
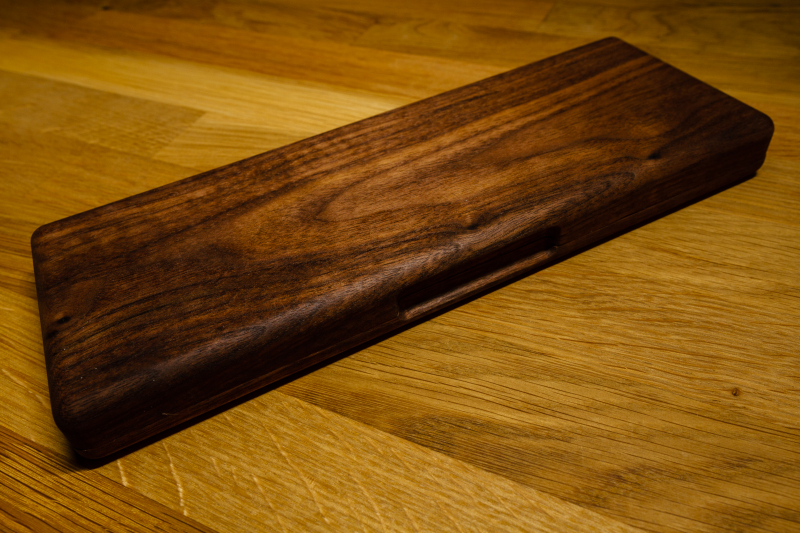
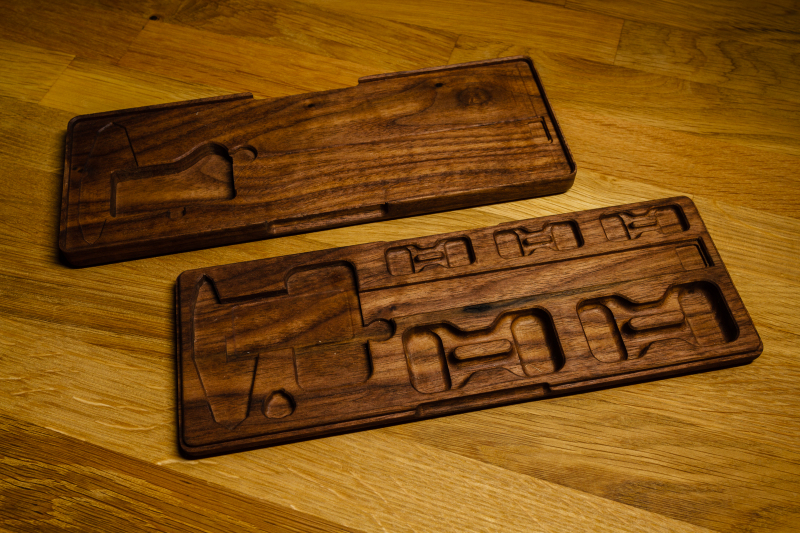
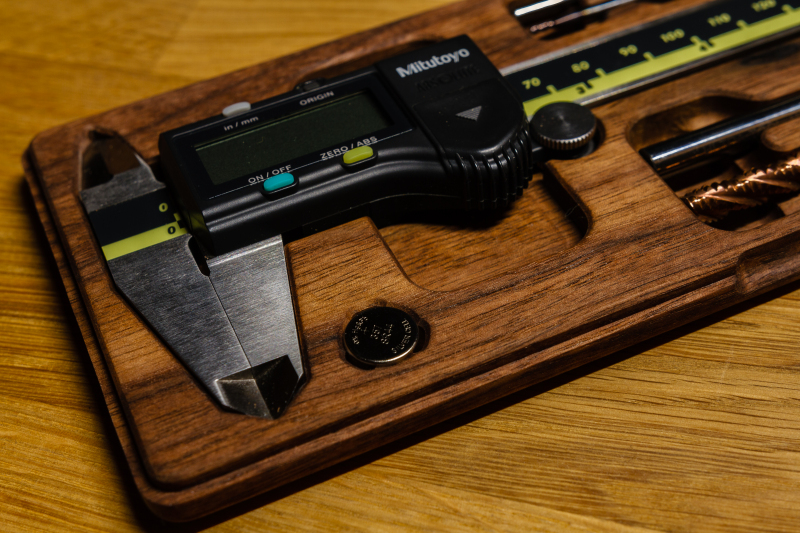
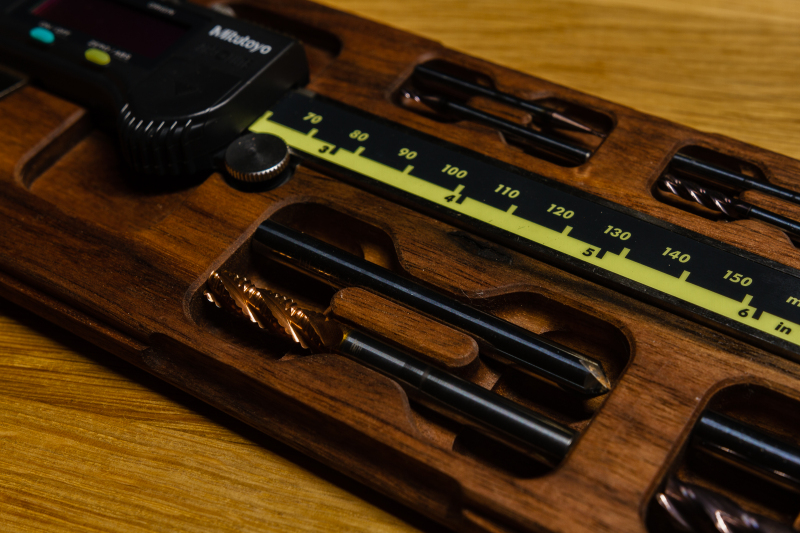
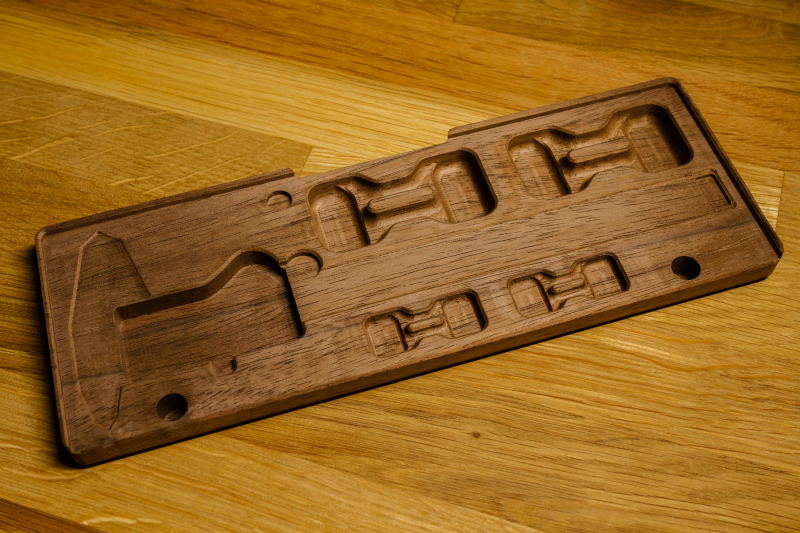
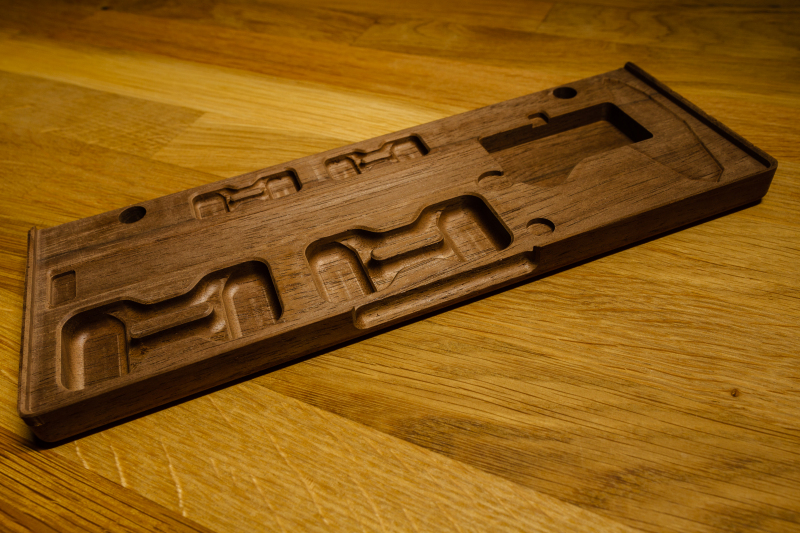
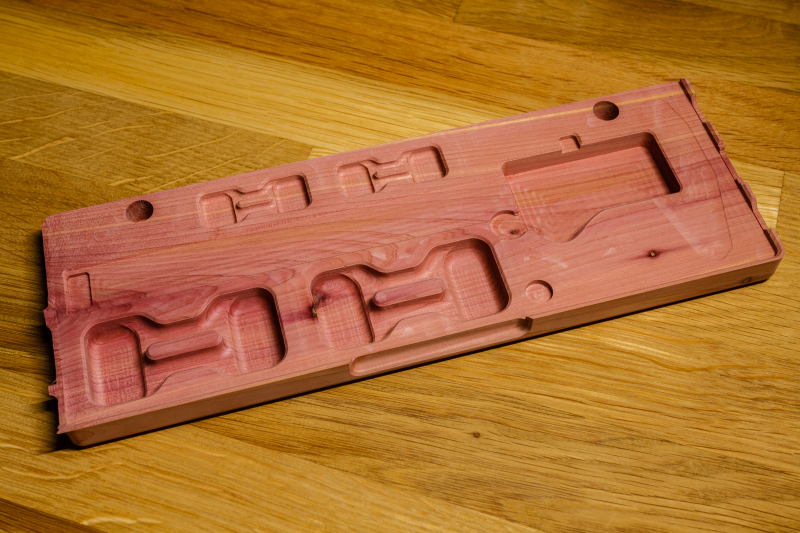
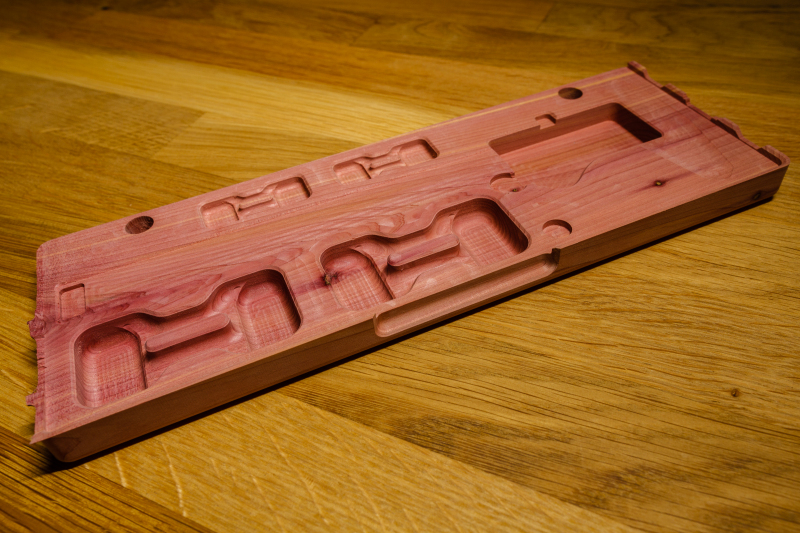
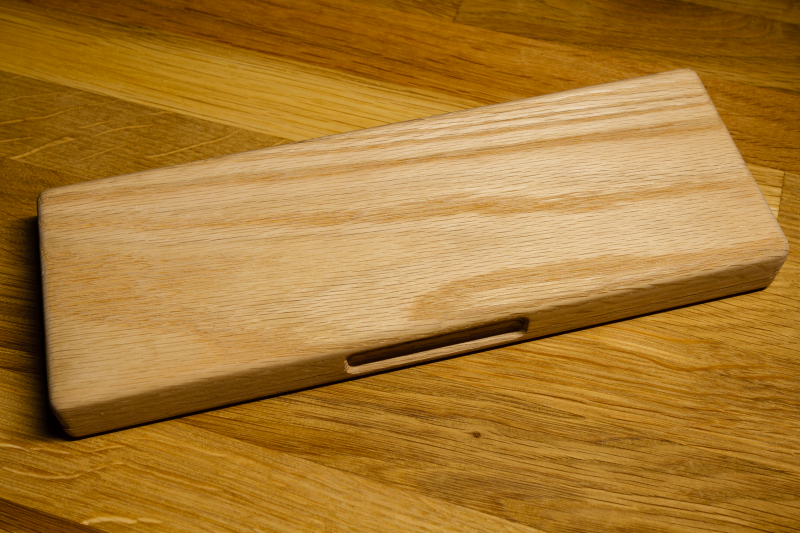
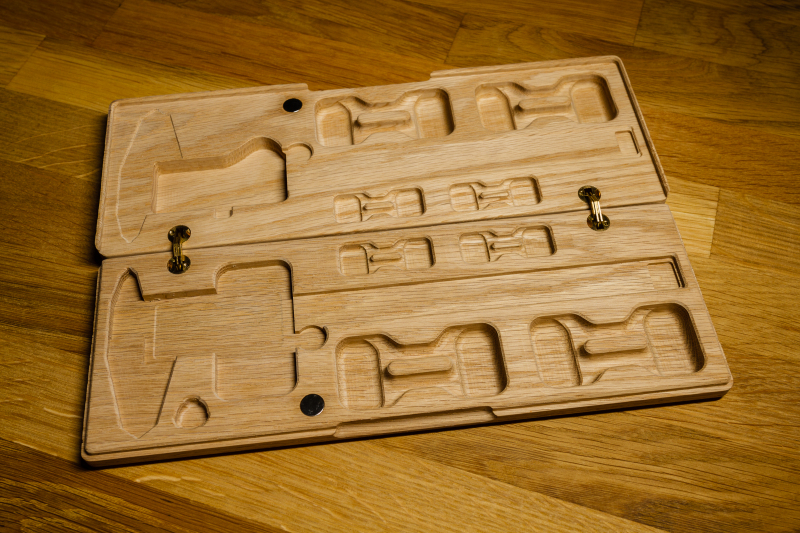
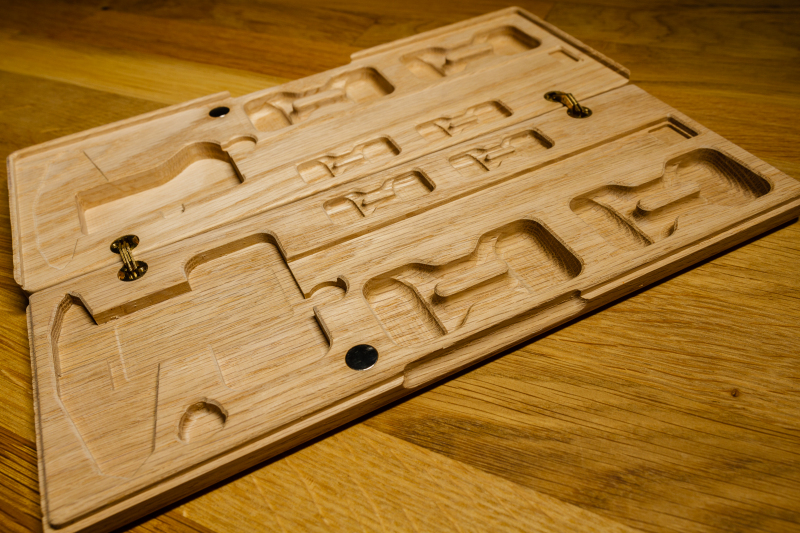
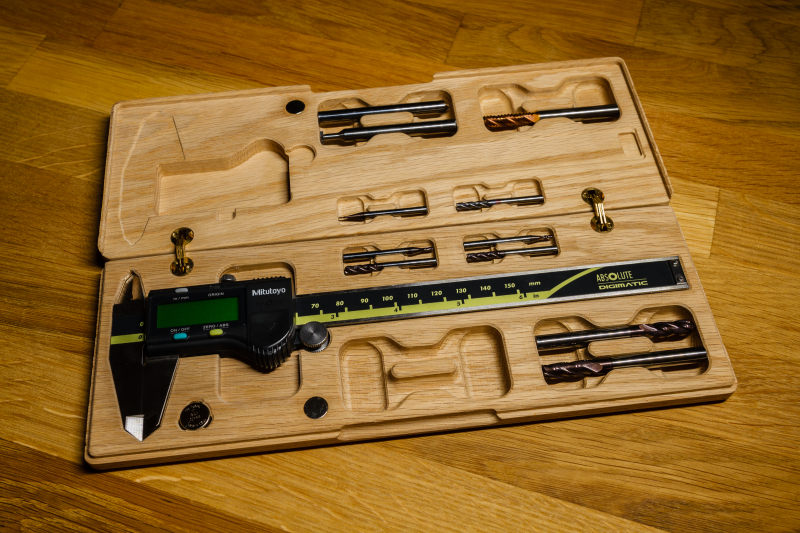
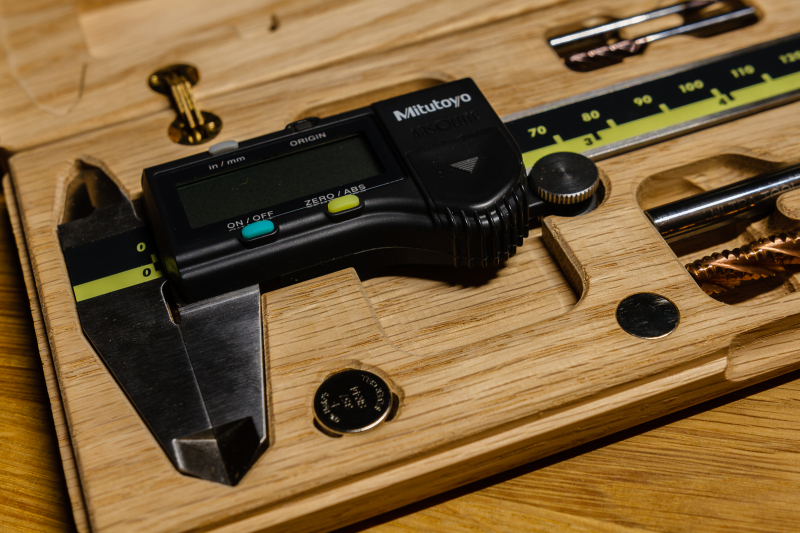
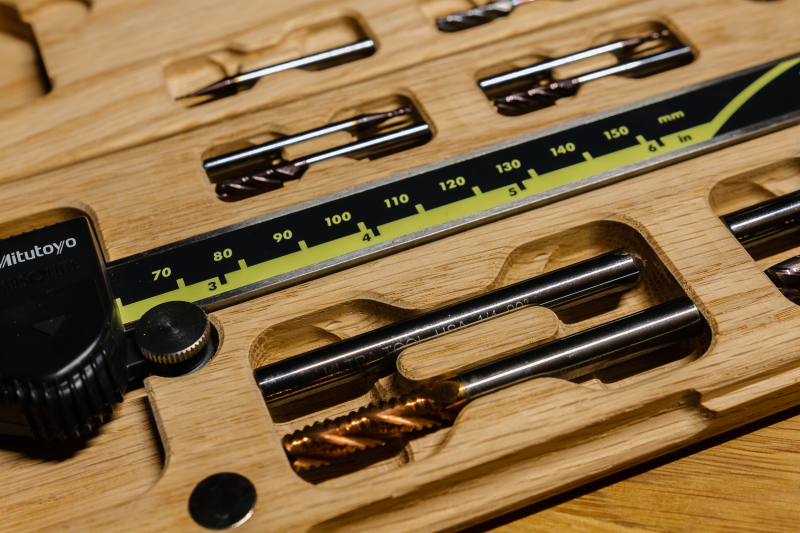
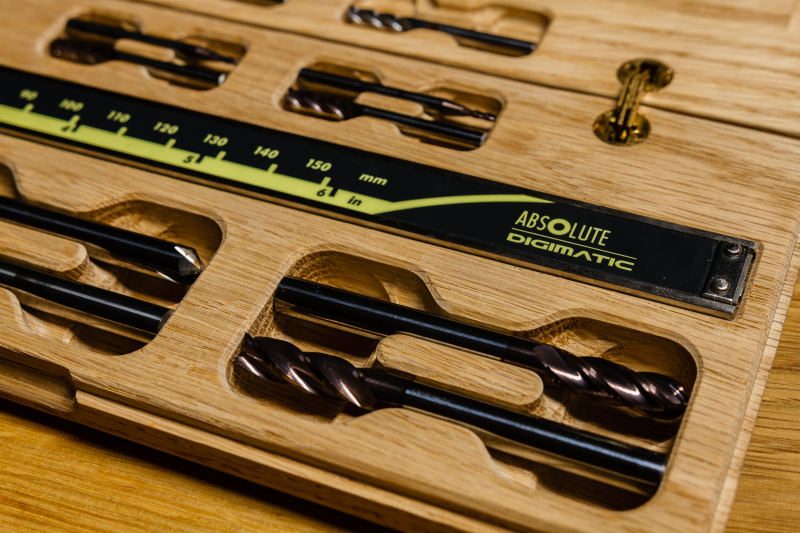
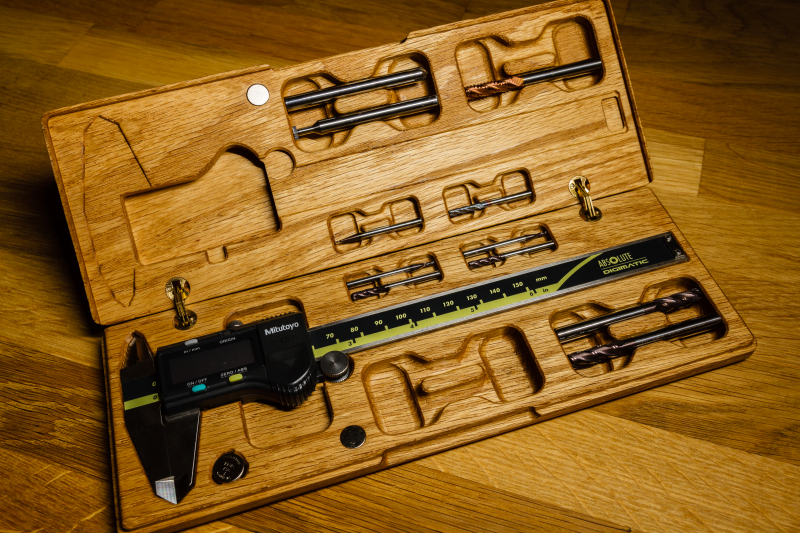
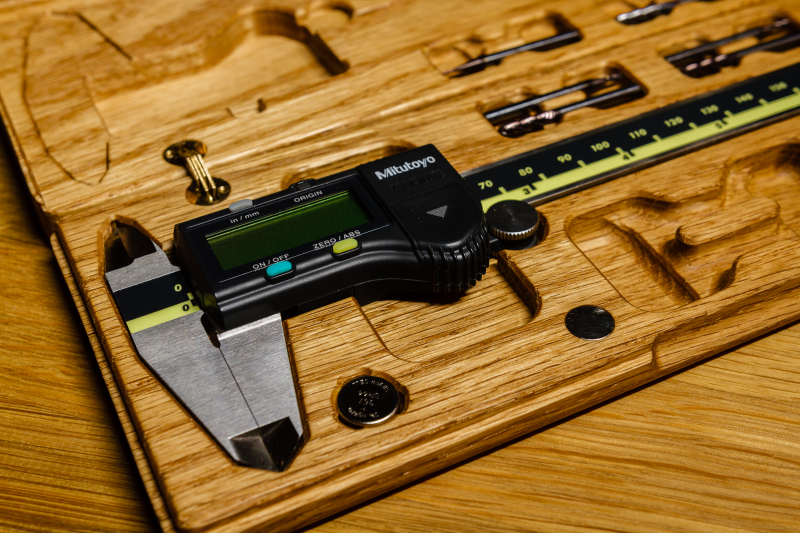
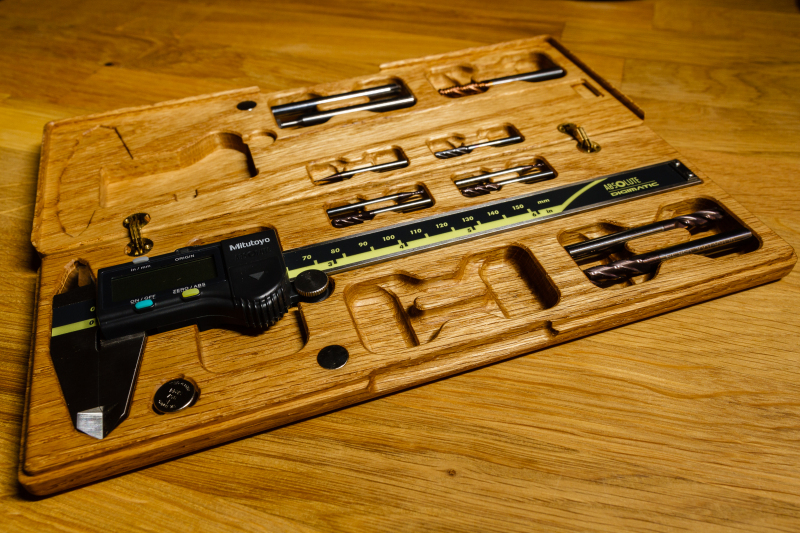
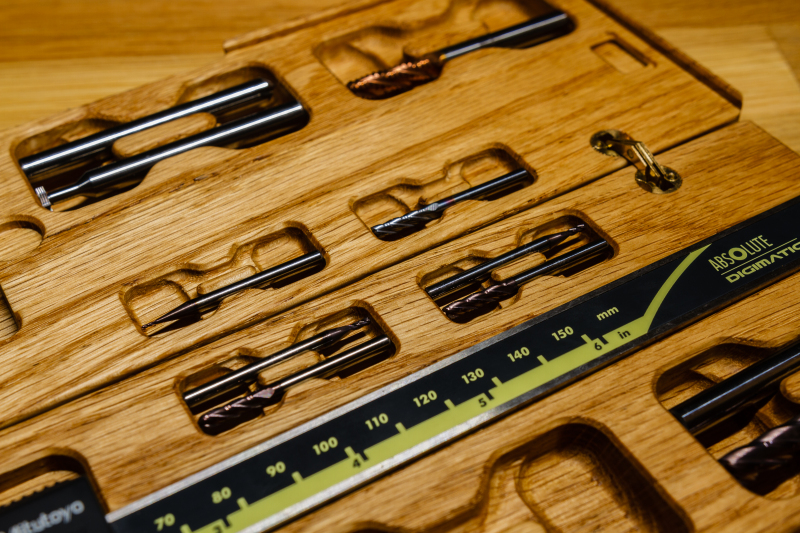
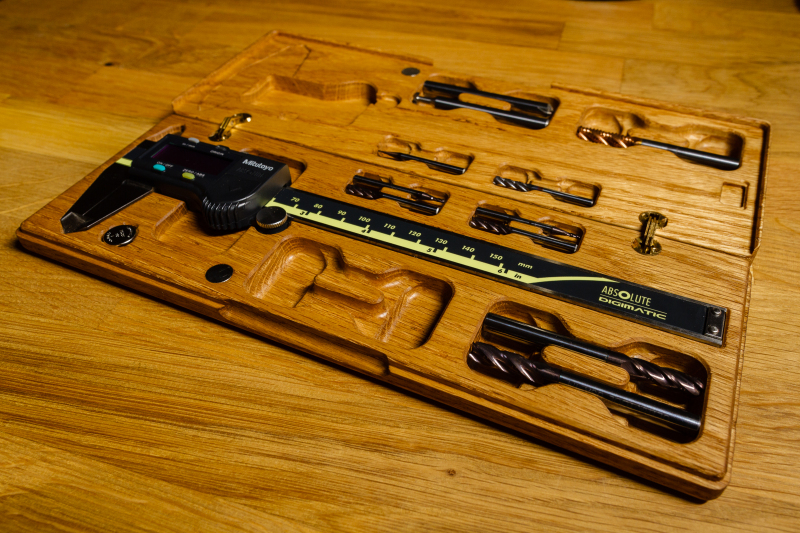
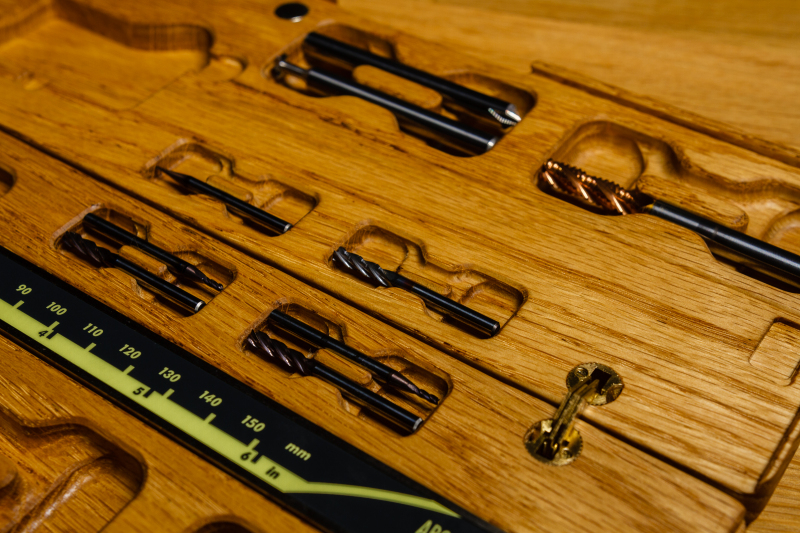
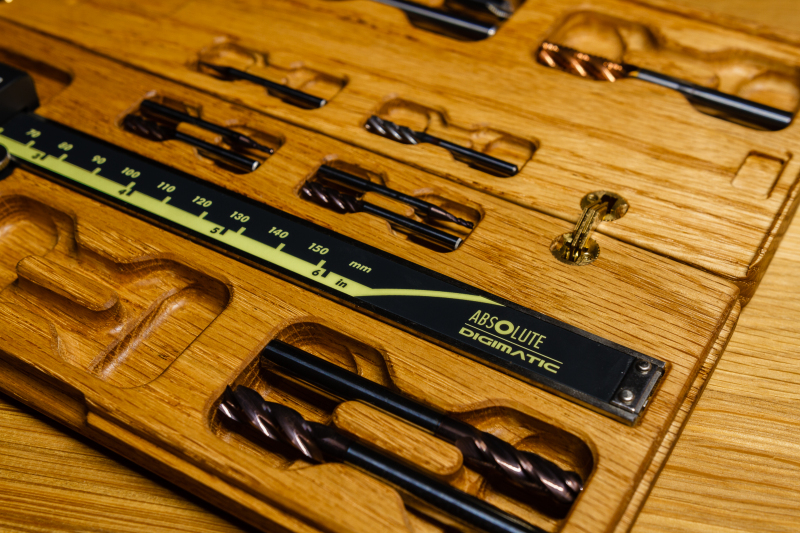
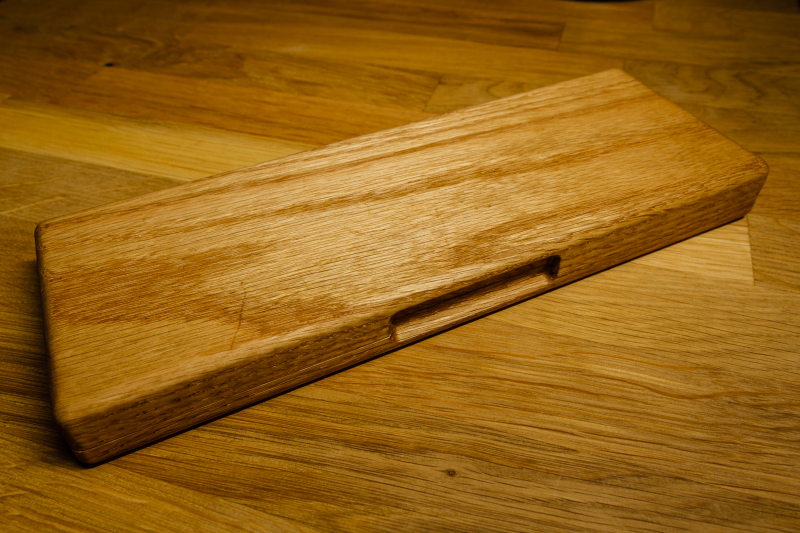
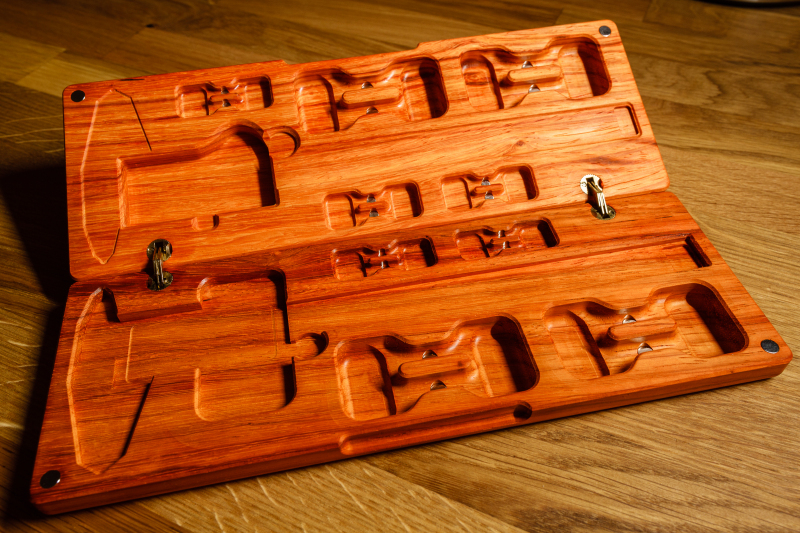
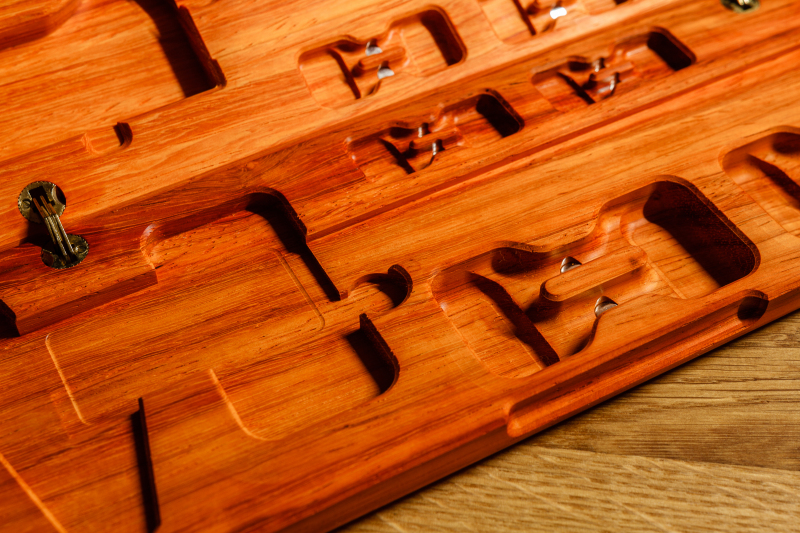
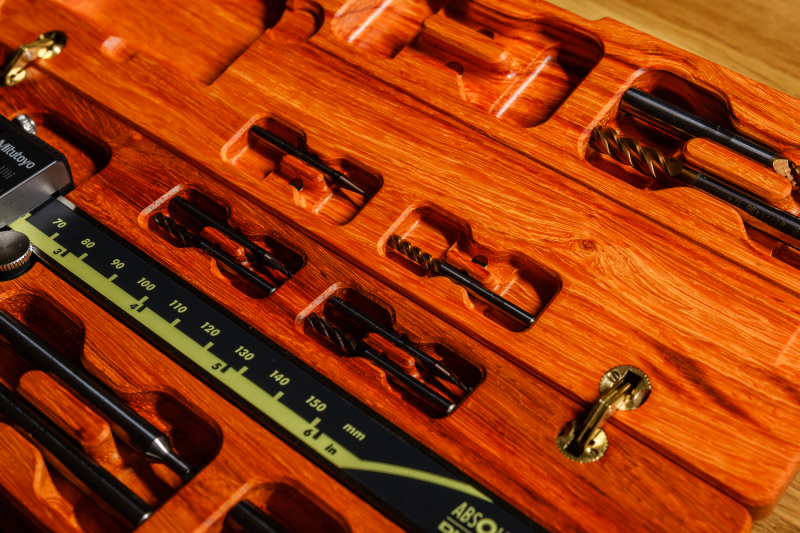
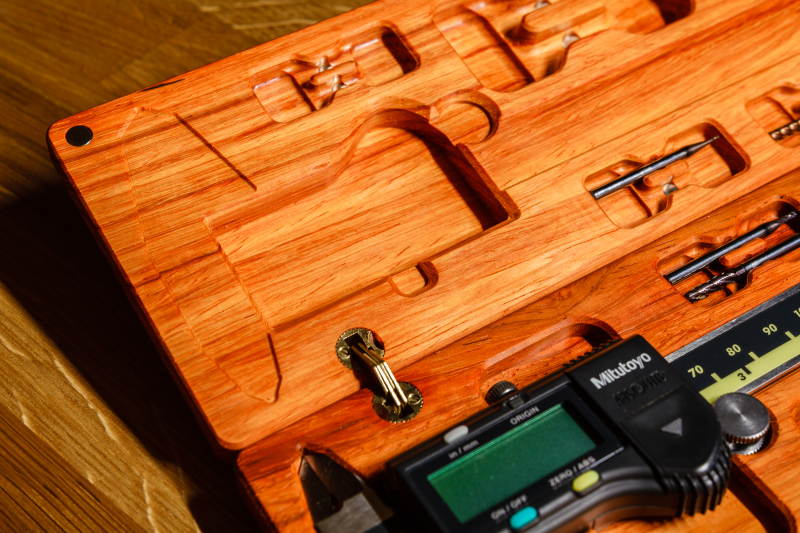
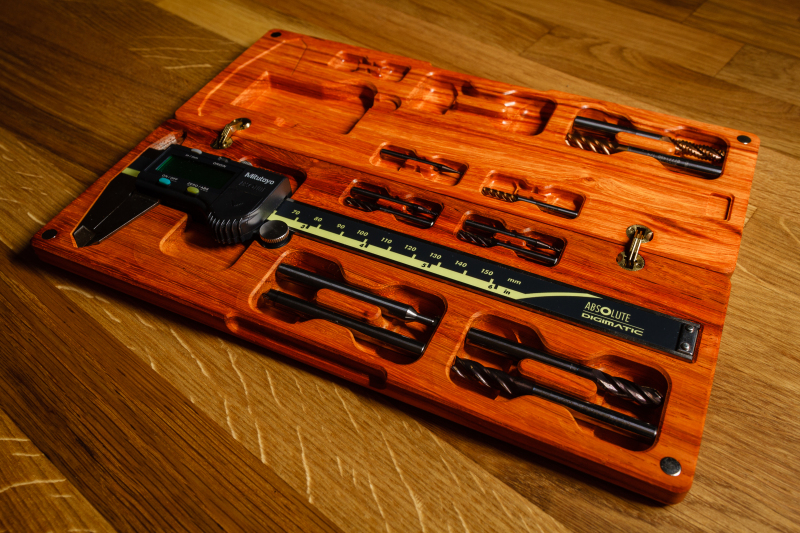
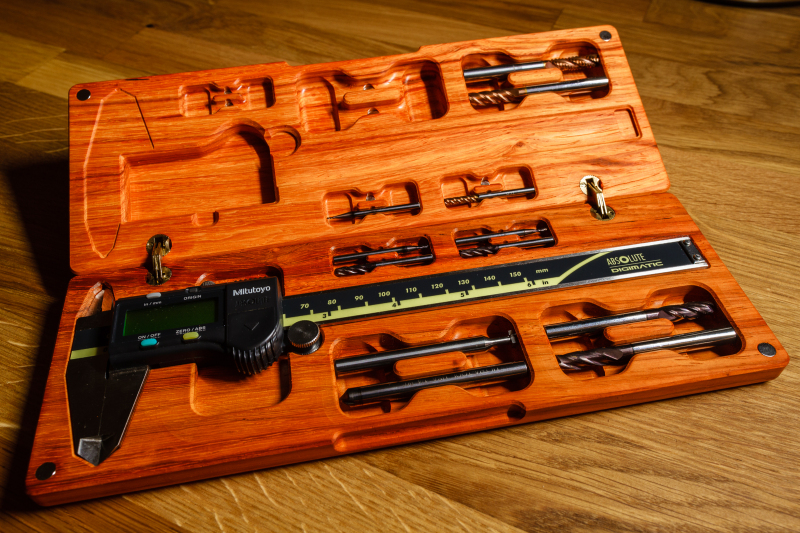
The design itself is a case for my Mitutoyo (Model 500-196-20) caliper along with some storage slots for a large selection of end-mills. It uses two hidden barrel hinges along with two neodymium magnets to hold the case shut. There are slots for 16 end-mills in total, eight of which are designed to hold 1/4″ x 2.5″ bits and the other eight for 1/8″ x 1.5″ bits. A slot for an extra battery was also added. It’s important to note that this case was specifically designed for this model as the newer model (500-196-30) will NOT fit due to a slight change to the plastic molding.
As this was my first design for the CNC mill, I naturally went through quite a few iterations. With each iteration, I not only improved the design itself but also experimented with a wide variety of woods as well. I’ve also tried a few different methods of finishing, namely butcher block oil, Teak oil, and Danish oil. For the finish, I tend to prefer a matted finish that also increases the water resistance of the wood. Lacquer and shellac was too glossy for my tastes, so I didn’t bother with them. Butcher block oil was nice in that it contained some beeswax to fill in the open grain, but mineral oil isn’t designed to dry out so it ended up highlighting the inconsistencies in the wood.
Teak oil on the other hand contains a mixture of Tung oil, lacquer, and mineral spirits. This combination allows the oil to soak into the wood before drying out, thereby providing a level of protection within the wood itself. As the oil is colorless, the underlying color of the wood is brought out, making it great for darker colored woods such as mahogany and walnut. For lighter colored woods such as oak, I opted to instead use Danish oil which is essentially teak oil mixed with a staining agent.
Observations regarding wood varieties:
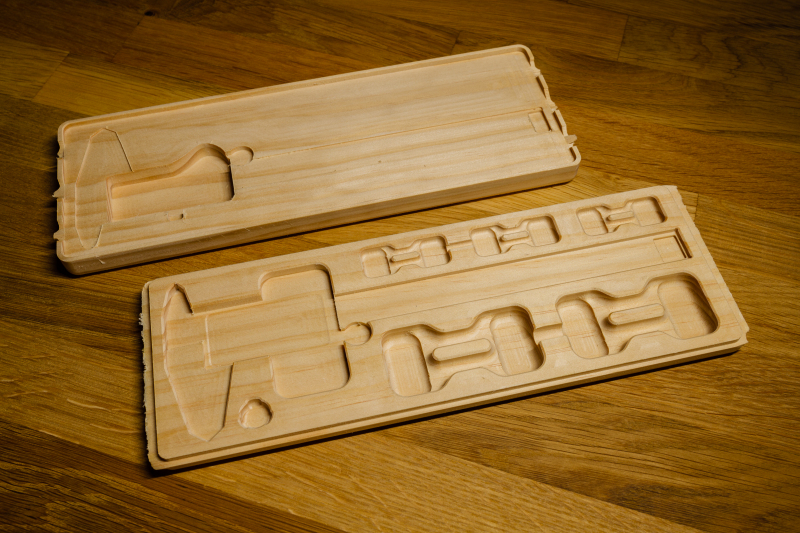
- Pine is incredibly cheap, but due to its softness and long grain it’s only really useful for prototyping
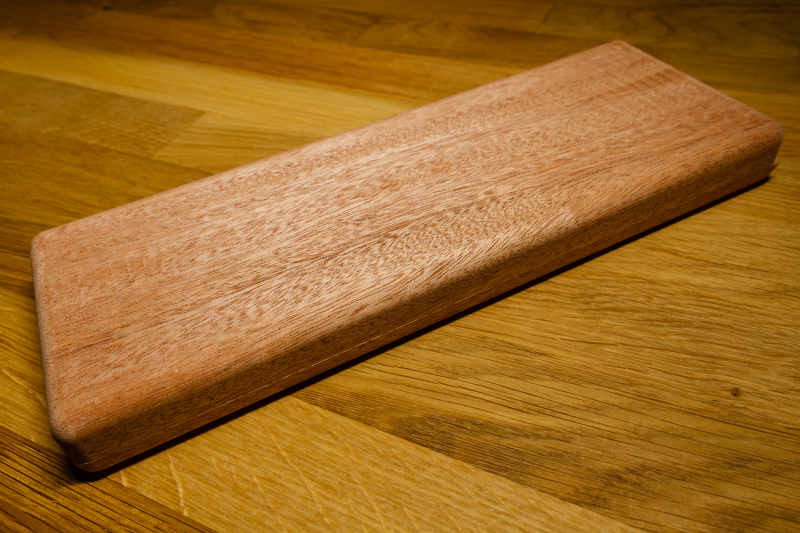
- Mahogany is a nice wood to machine. The grain is small enough that it doesn’t split very easily, but the wood itself is very light. Mahogany also seems to expand a bit so it’s not as dimensionally accurate as other woods.
- Aromatic cedar is as easy to machine as Mahogany, but has almost non-existent grain. The downside is that there are a lot more knots in cedar than other woods. The wood itself is also very fragile so using it for thin parts is extremely risky. The upside is that it smells and looks great, as long as you don’t plan on coating it with anything.
- Walnut is somewhat expensive and more difficult to machine than Mahogany as it is denser with longer grain. Peruvian walnut is significantly darker with better consistency, but is also much softer than more common variety. Due to the longer grain, care should be taken when going around corners or else the wood may chip.
- Oak (both red and white) is similar to walnut but slightly denser so there is more heft to it when held. It’s significantly cheaper than other woods, but the color is a bit too light for my tastes. Due to the long grain, care should be taken in the toolpath to avoid taking corners too quickly.
- Padauk has an incredible red/orange color and is also denser than oak. The grains are a long though, so the increased density doesn’t help much in preventing splintering. A neat feature of this wood is that it requires almost no finishing other than some light sanding: the finish directly from the machine is amazing.
- IPE (Brazilian walnut) is SUPER dense with an excellent grain pattern. At nearly twice the density of Padauk, its even harder to mill and will easily break your endmills if you aren’t careful.
