Design files for this project can be found here
After years of waiting, I finally stumbled across an great deal for a nice thermal IR camera. The device in question, a now-discontinued FLIR E40, features a native 160 × 120 60Hz sensor with 0.07°C thermal sensitivity and a -20 to 650°C (-4 to 1202°F) temperature range. The device didn’t come with a working charger or other accessories, but I figured that I could just model and build the missing accessories myself.
What’s great about this camera is that it’s possible to upgrade it to what is effectively an E60, with a resolution of 320 × 240 and 0.05°C of thermal sensitivity. This is courtesy of the awesome folks over at the EEVblog forum who figured out how to undo the software limitations on the Ex (E4-E8) and Exx (E30-E60) line of FLIR IR cameras.
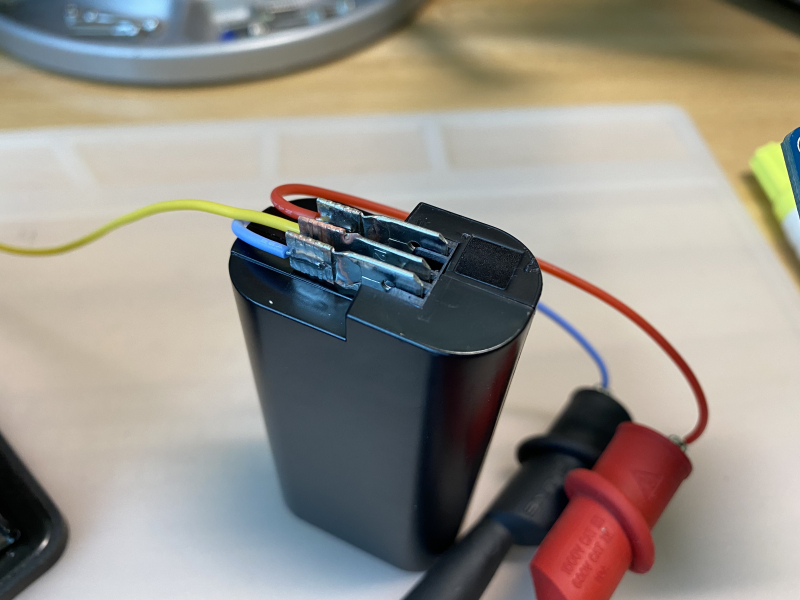
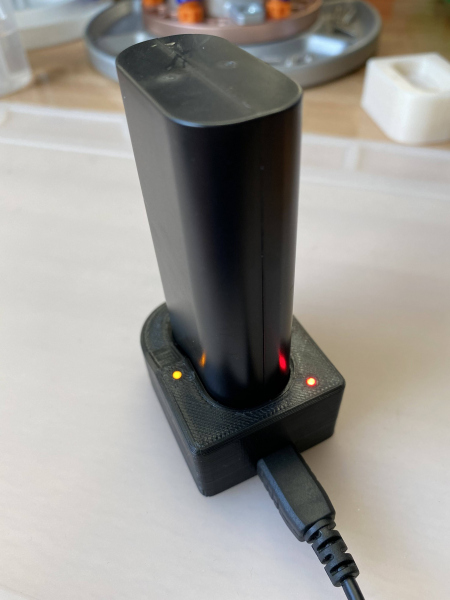
One of the critical accessories that was missing was a way to charge the battery for this camera. The official power supply ($125) and battery charger ($230) was more than what I was willing to pay, so I figured that I could just build my own version of battery charger. Members on the EEVblog forum identified that the battery itself ($150) consists of two 18650 lithium-ion batteries and even shared the pinout and connectors for these batteries, which made the task much easier.
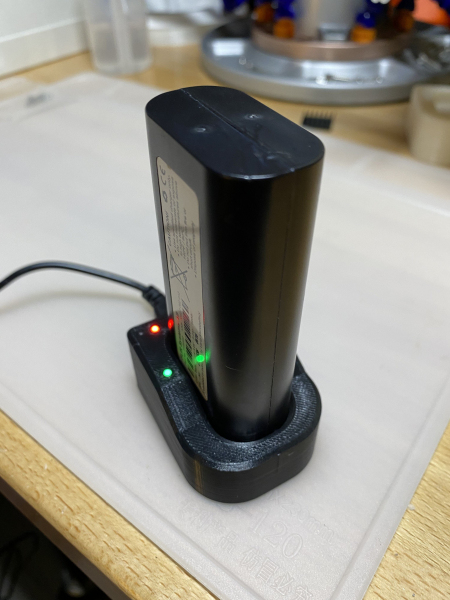
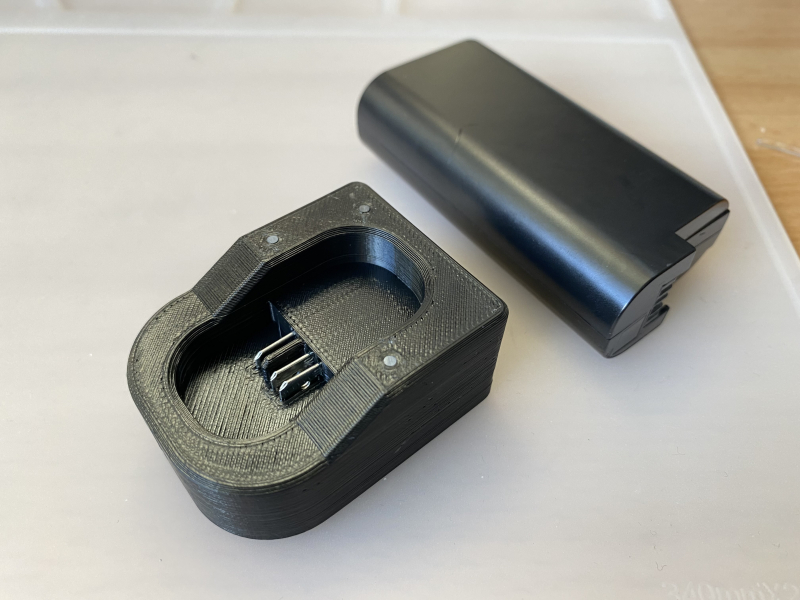
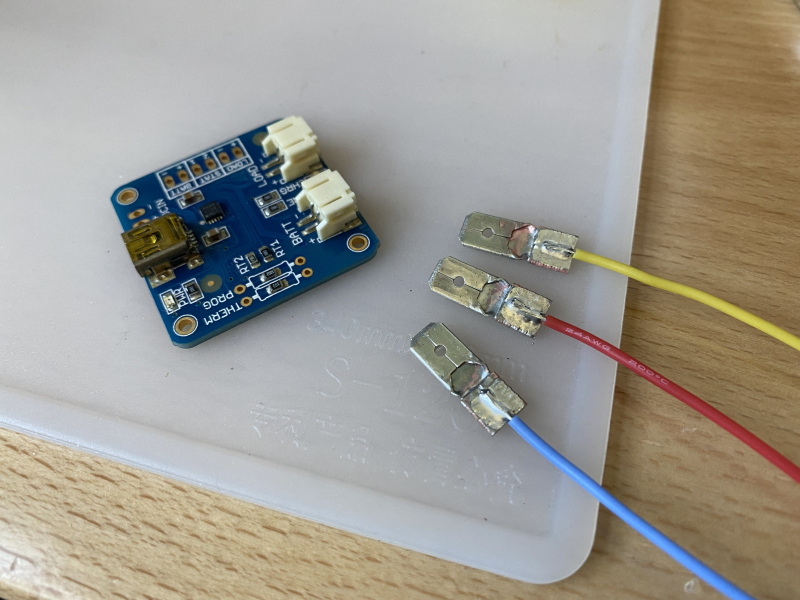
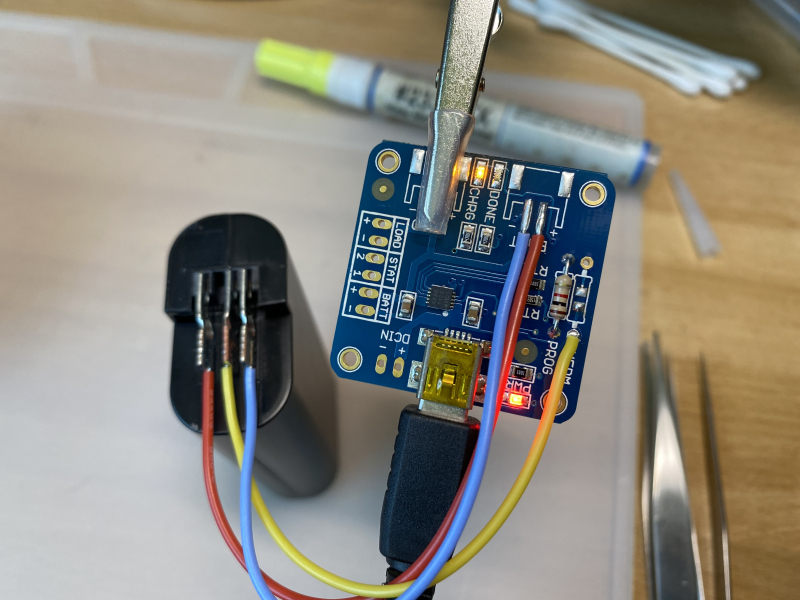
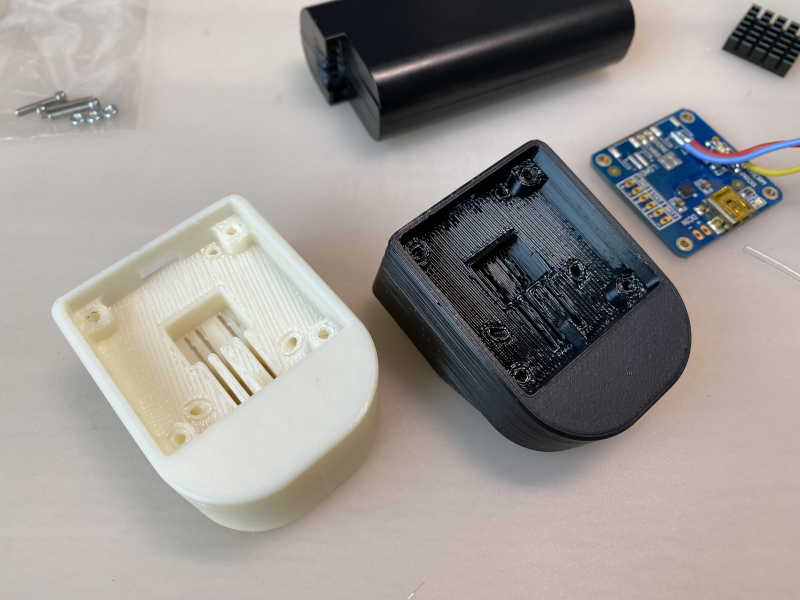
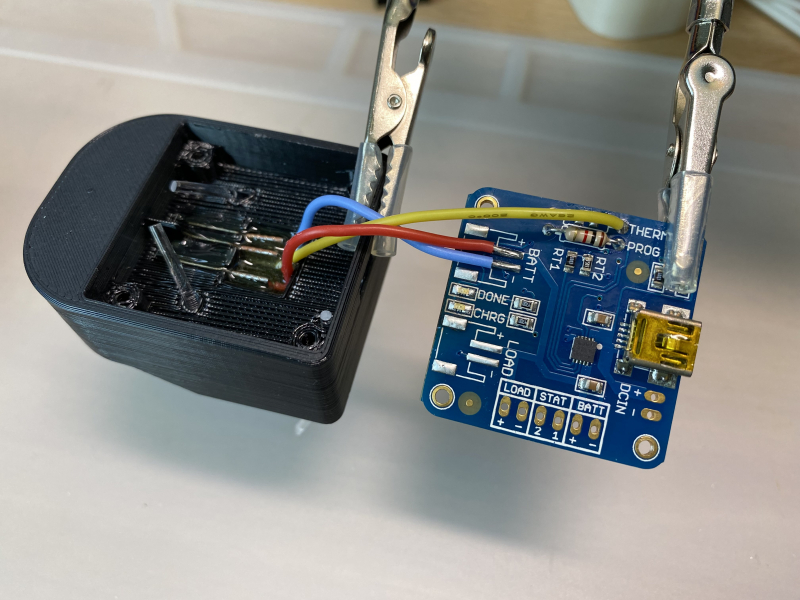
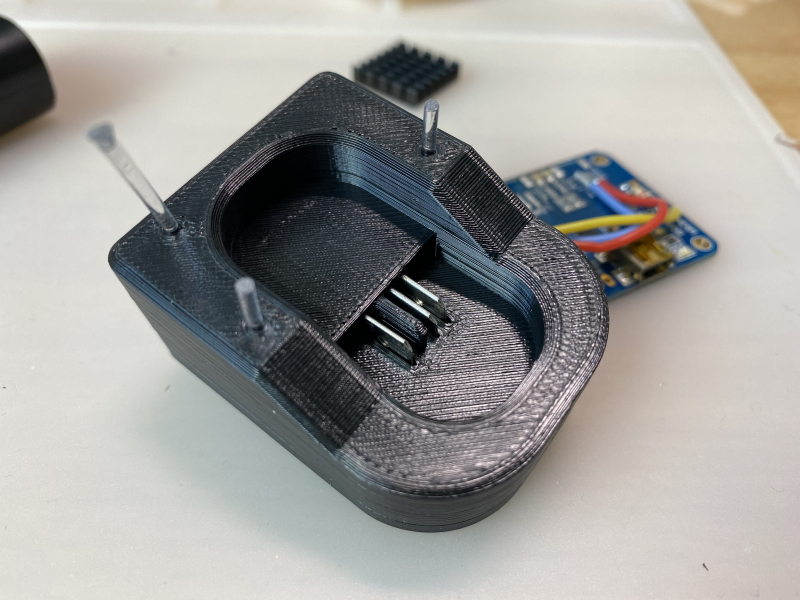
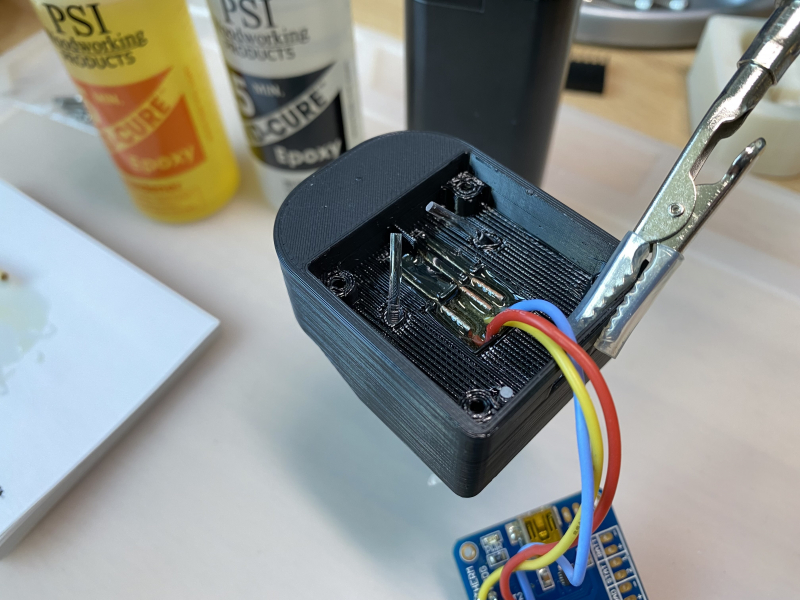
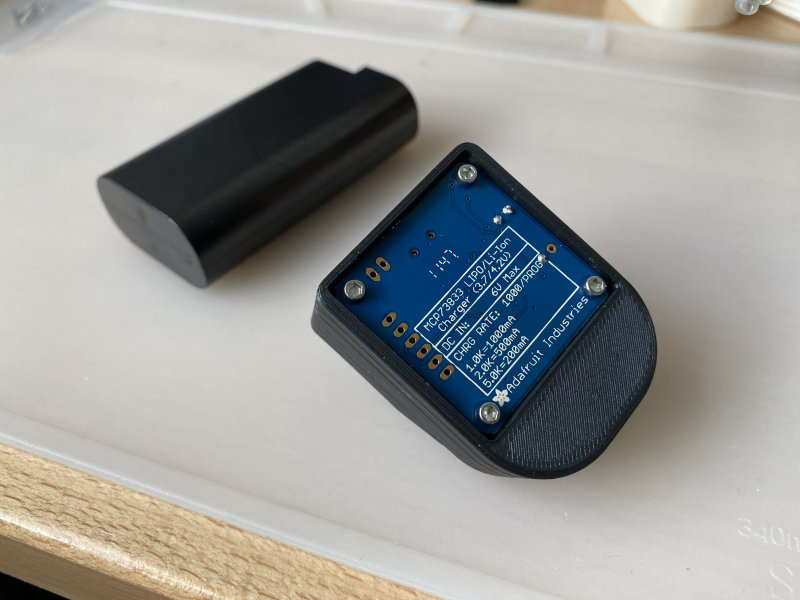
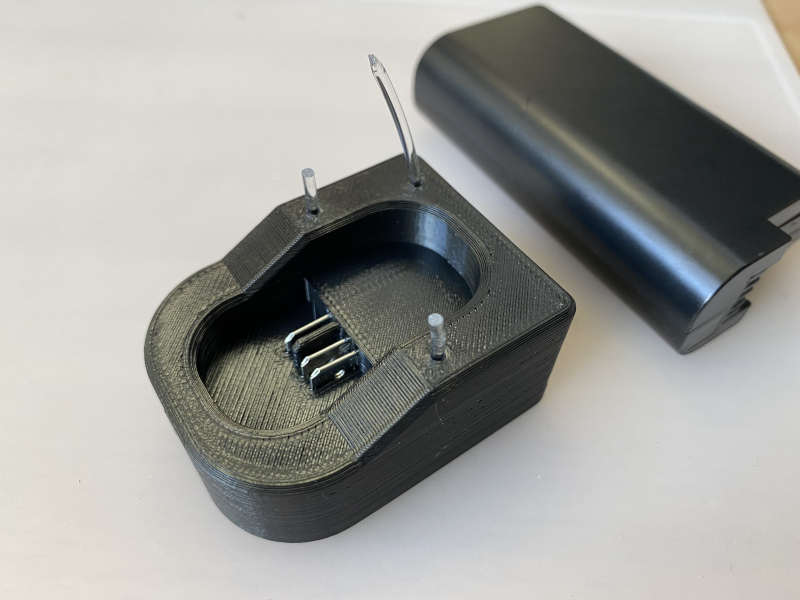
As these batteries have a built-in NTC 10k thermistor, I opted to use Adafruit’s USB LiIon/LiPoly charger in my design. This charger was the only reputable charger that I could find that had support for an external thermistor, which is a nice feature to have given the relatively high (1A) charge rate for these 4.4Ah batteries. The proper battery terminals were difficult to source as well, but I found out that flattening a few spade quick disconnect connectors worked well as a drop-in replacement.
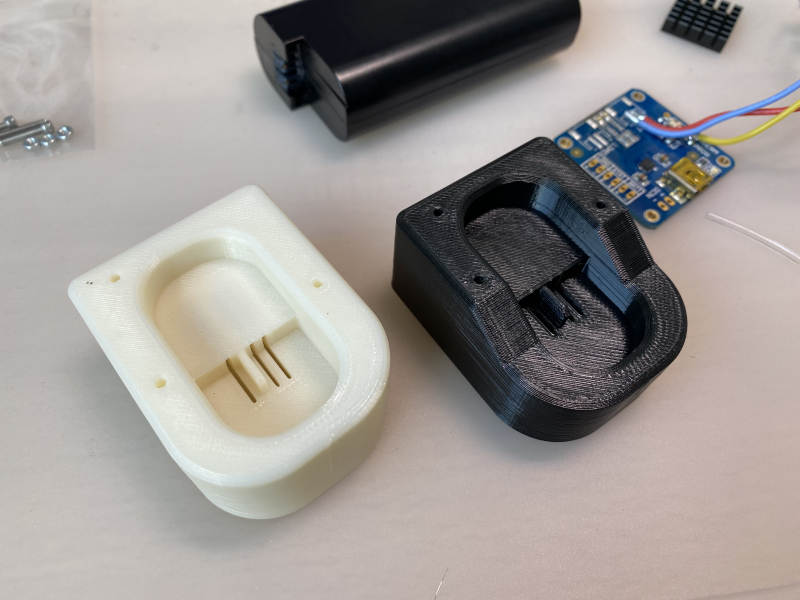
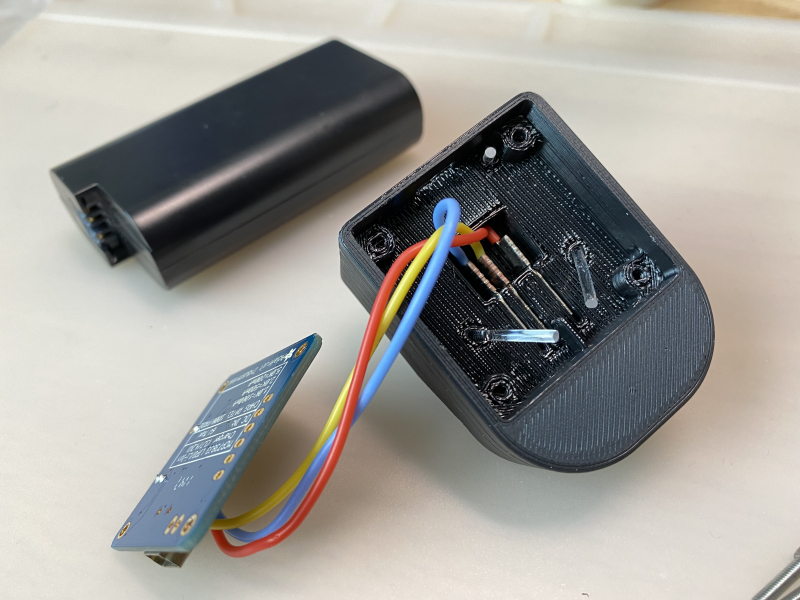
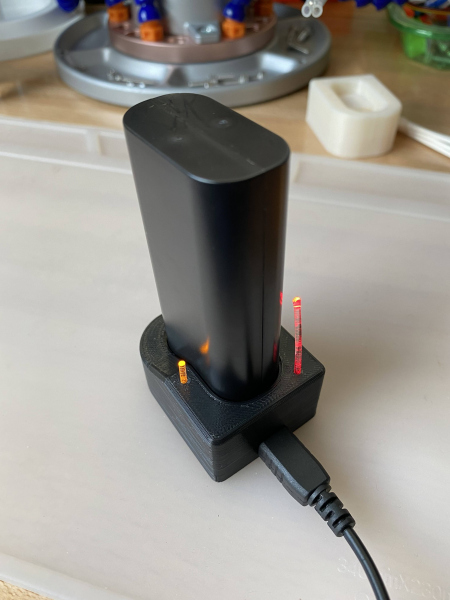
With an off-the-shelf charger and some extra hardware that I had on hand, all I had to do here was to model a docking station for the battery. What’s neat about this design is that it uses a small segment of clear filament as an optic fiber to expose the indicator LEDs without removing or rewiring the LEDs themselves. The only changes I had to make was to remove the JST connectors as they took up too much space, remove the placeholder 10k resistor for the thermistor, and change the current programming resistor to 1kΩ to enable a charging rate of 1A.
With the ability to recharge the camera out of the way, the other accessory that I wanted was a macro lens to facilitate PCB inspection work. The camera comes with a native 25°H × 19°V lens, and FLIR sells a 15° x 11.25° ($1400) lens and 45° x 33.8° ($1300) lens as well. The built-in 25º lens has a minimum focusing distance of roughly 15cm which isn’t bad but also isn’t quite enough for close up inspection of tiny components.
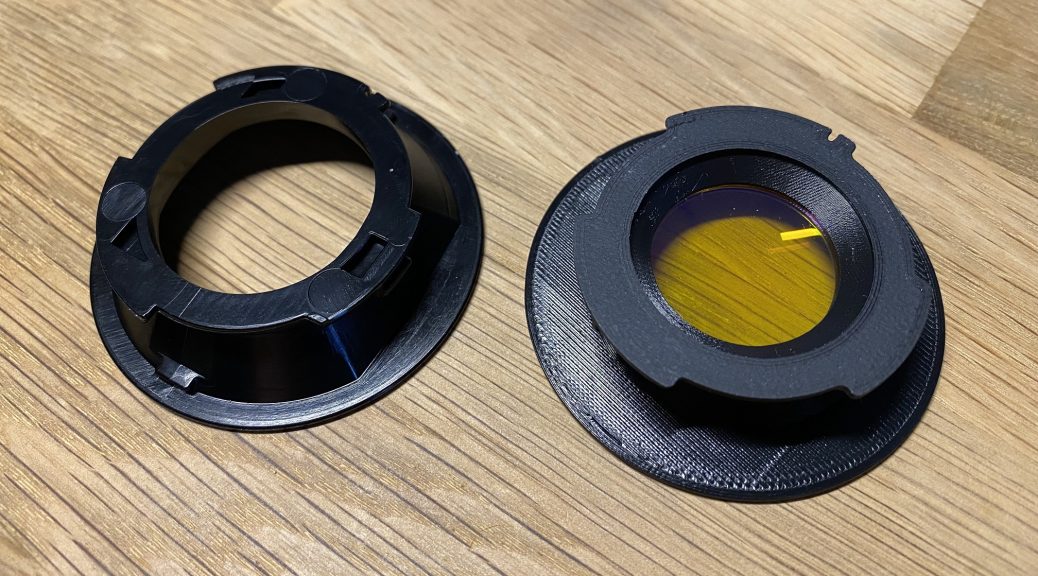
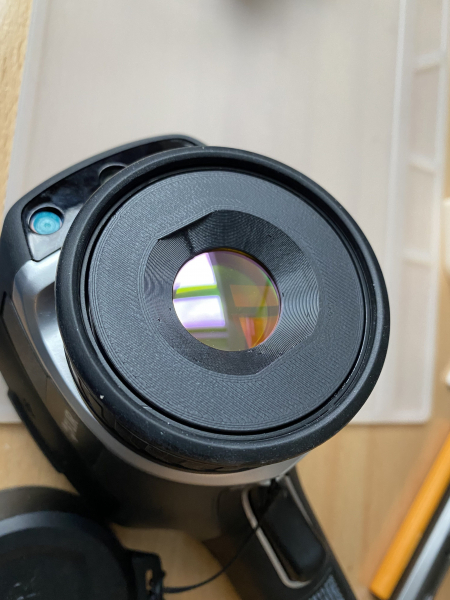
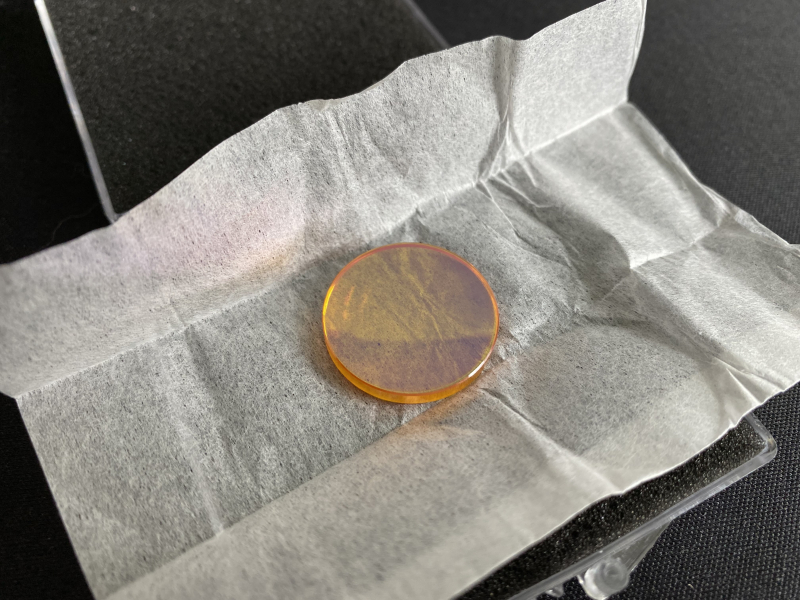
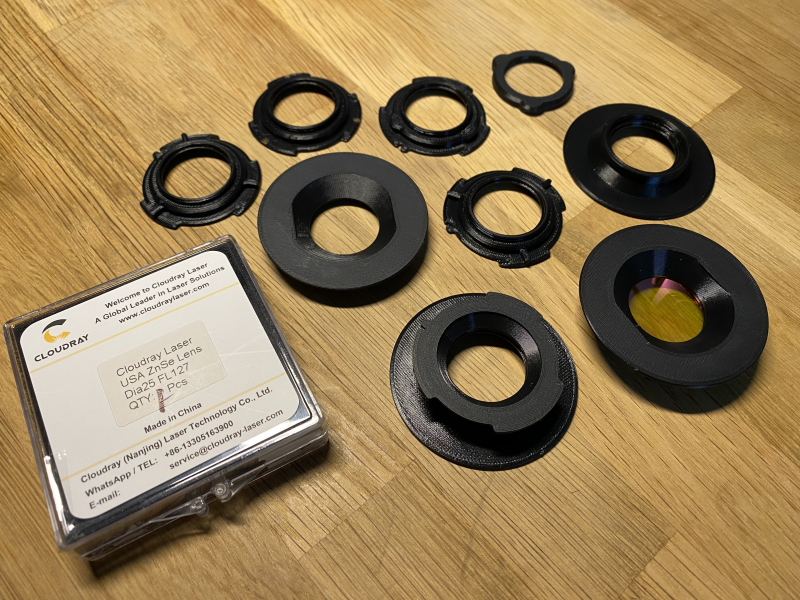
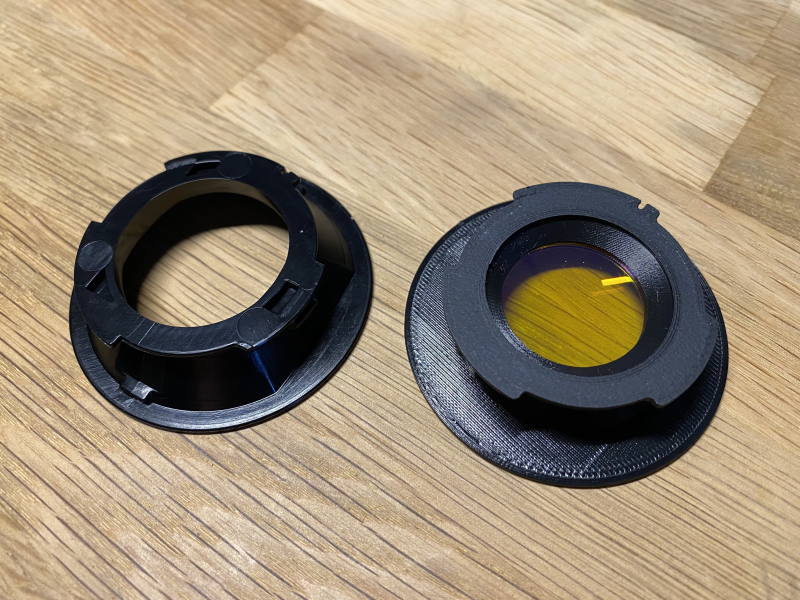
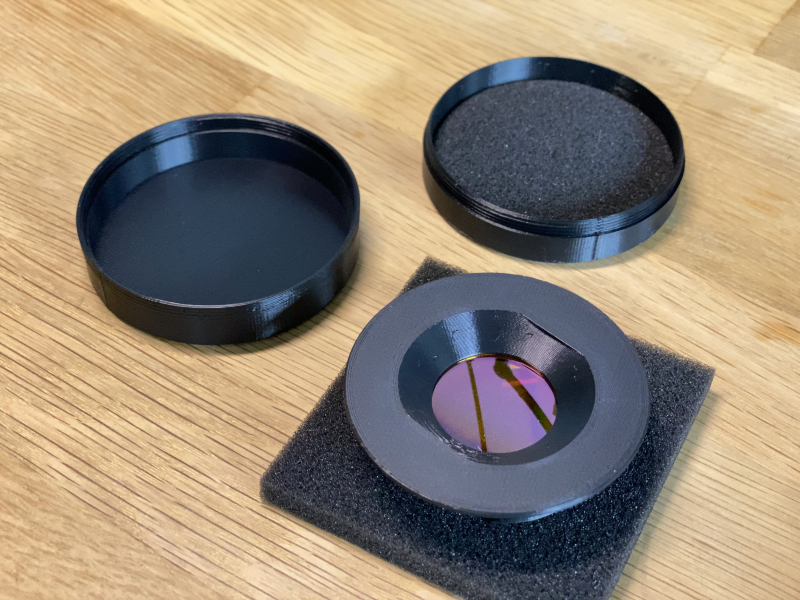
Again, the folks on the EEVblog forum noted that it’s possible to use cheap zinc selenide (ZnSe) or germanium (GaAs) lenses intended for laser cutters as macro lenses for IR cameras. As such, I picked up a nice 25mm ZnSe CVD meniscus lens with a focal distance of 127mm for only $35 and modeled my own adapter for the mounting flange on the camera. The two parts of the adapter screw together to hold the lens in place, and the base of the adapter was modeled using the placeholder lens cap that the camera comes with. The new lens sits approximately 6mm in front of the built-in lens, which is far enough to result in no noticeable vignetting in the output image.
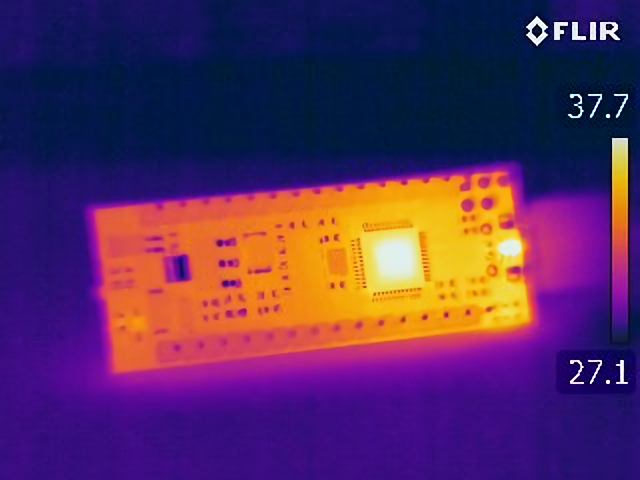
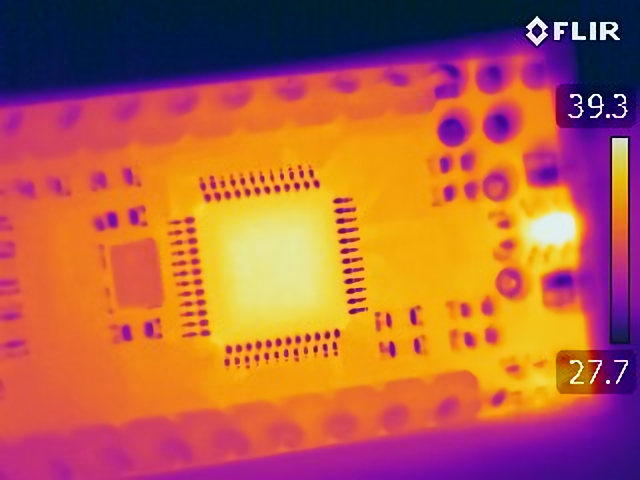
With my custom macro lens, the focusing range is now 7cm to 20cm which results in what is effectively a 2x magnification on top of the original lens. Given how cheap these lenses are, I may buy one with a shorter focal length to see if I can somehow achieve even greater magnification.
Next on my list: custom batteries, tripod mount, and a more compact charger that is powered via USB type-C.
